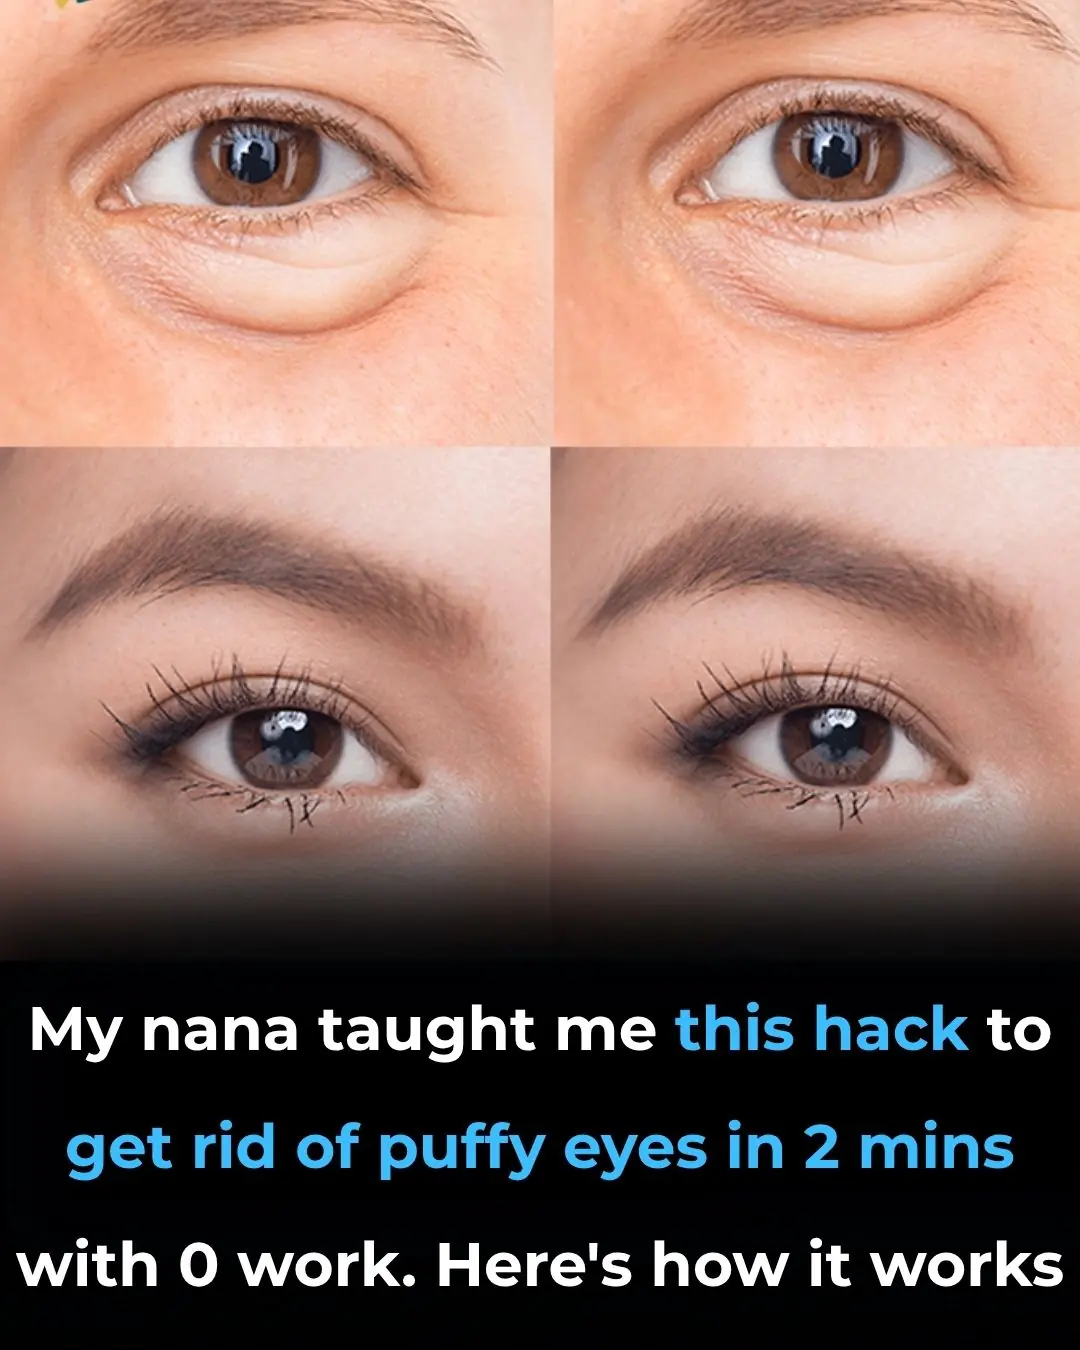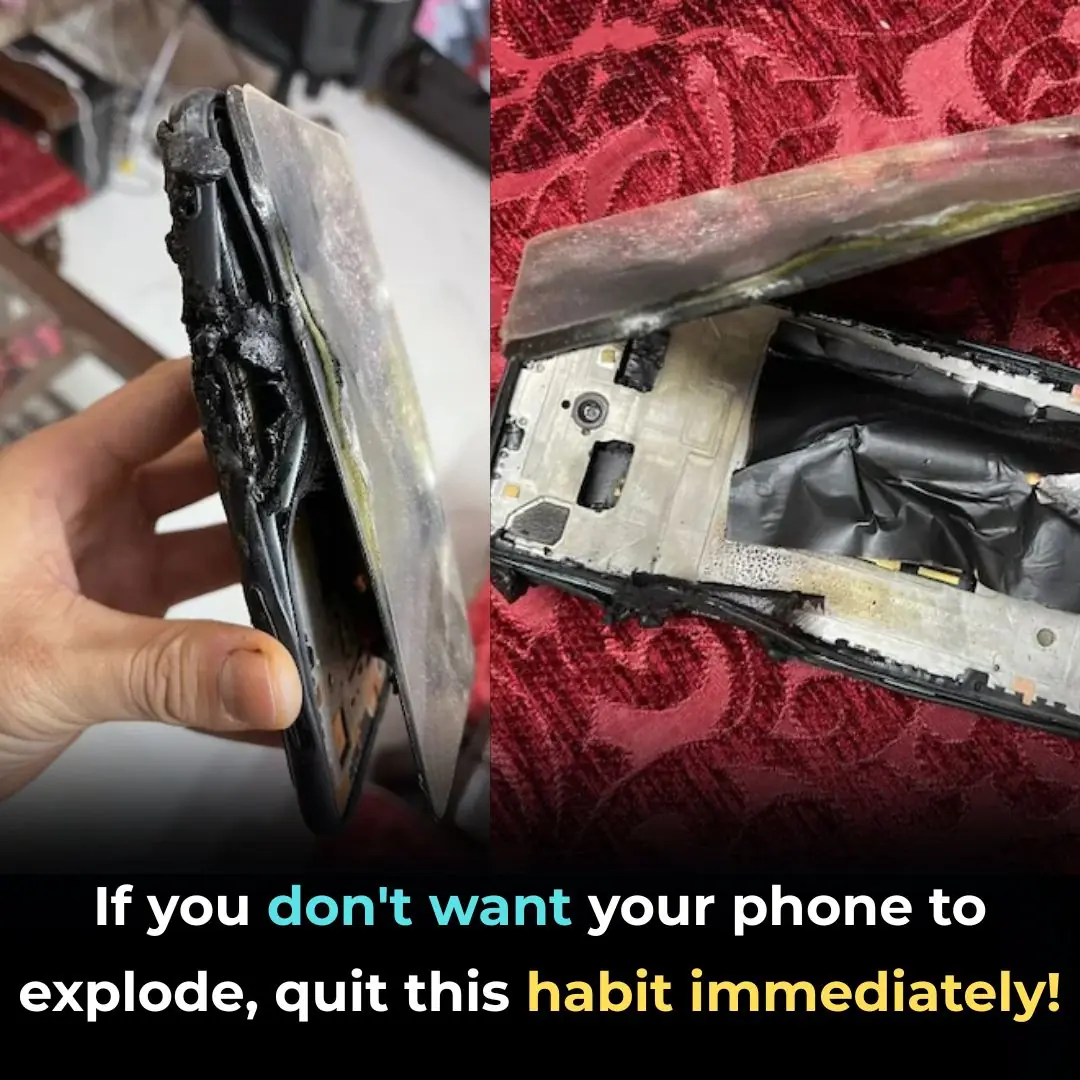
Stop This Dangerous Habit Before Your Phone Explodes!
Tips 29/10/2025 23:38
Did you know that you can grow papaya trees in pots and still enjoy large, juicy, and wonderfully sweet fruit? With the right techniques and care, even a small balcony or garden corner can yield an impressive papaya harvest. Here’s how to do it step by step.
For container growing, the best choice is an F1 hybrid papaya variety. These hybrids are compact, have short internodes, and are bred to produce fruit even in limited space. They also adapt well to different climates and are resistant to common pests and diseases.
If you prefer to grow papaya from seeds, choose a fully ripe fruit from the market. Cut away the top and bottom, scoop out the seeds, and place them in a bowl of water. The viable seeds will sink to the bottom, while the bad ones will float. Discard the floating seeds.
Rinse off the sticky coating around the good seeds and get them ready for sprouting.
Soak the cleaned seeds in warm water (around 40°C / 104°F) for 5 hours. Spread them evenly on a damp cloth or paper towel and keep them moist for 4–5 days until they begin to germinate. Mist the seeds lightly once or twice a day to maintain humidity.
When the sprouts appear, plant 2–3 seeds per small seedling pot or nursery bag. After about 15–20 days, the seedlings will emerge and start to develop true leaves.
💡 Tip: If you don’t have time to germinate seeds, you can purchase ready-to-plant papaya seedlings from reputable nurseries. Choose plants about 15–20 cm (6–8 inches) tall, with dark green leaves, strong stems, and healthy roots.
A good seedling has:
Clustered roots (not long and tangled)
Sturdy base thicker than the top stem
Slightly tilted growth direction
These are typically female plants, which are more likely to bear large, sweet fruit.
Papaya trees need nutrient-rich, well-draining soil. You can use pre-mixed garden soil or make your own blend by combining:
50% loamy soil
30% compost or well-decomposed organic manure
10% rice husk or perlite (for aeration)
10% worm castings (for nutrition)
Make sure the pot has drainage holes to prevent waterlogging, as papayas dislike standing water.
Once the seedlings reach about 10–15 cm (4–6 inches) tall and have 4–5 leaf pairs, they’re ready to move into larger containers. Choose a pot with a diameter of 50–60 cm (20–24 inches) and a depth of at least 40 cm.
Carefully remove the seedlings with their soil ball intact to avoid damaging the roots. Place one healthy seedling in the center of the pot, fill with soil, and gently press around the base.
Water thoroughly after transplanting and keep the pot in a sunny, well-ventilated location.
Papaya plants love sunlight and moisture, but they don’t tolerate soggy soil. Water moderately once a day or every other day depending on the weather.
When the plant reaches 50–60 cm (20–24 inches) in height, reduce nitrogen fertilizers to prevent soft, weak leaves. From then on, focus on phosphorus (P) and potassium (K) fertilizers every 7–10 days to encourage flowering and fruit development.
You can use:
Organic compost or vermicompost
Banana peel tea (rich in potassium)
Diluted fish emulsion or seaweed extract
After 5–6 months, your papaya plant should begin to flower. At this stage, supplement with extra potassium to support heavy fruiting and sweeter taste. Remove any weak or damaged leaves to help the plant focus energy on fruit production.
If pollination seems low (especially when grown indoors or on balconies), you can gently shake the branches or use a soft brush to transfer pollen from male flowers to female ones.
💡 Pro Tip: Keeping bees or placing the plant near flowering herbs like basil or marigold can naturally attract pollinators, improving fruit yield.
Spring planting (March–April): Harvest around the Lunar New Year (Tết).
Autumn planting (September–October): Harvest between July and September of the following year.
Under good care, a potted papaya plant can yield up to 3 harvests per year. Each tree may bear 20–40 fruits, depending on variety and growing conditions.
Sunlight: Papayas love full sun — give them at least 6–8 hours of light daily.
Wind protection: Avoid windy areas, as papaya stems are fragile and can snap easily.
Pest control: Watch out for aphids and mealybugs; remove them manually or spray with neem oil.
Pruning: After harvesting, trim old or diseased leaves to promote new growth.
When the papayas start to turn yellow-orange, it’s time to harvest. Cut them with a short stalk attached, then let them ripen naturally indoors for the best sweetness.
Homegrown papayas tend to be richer, juicier, and more fragrant than store-bought ones — plus, growing them yourself saves money and brings immense satisfaction.
Growing papaya in pots isn’t just possible — it’s surprisingly easy and rewarding. With a bit of patience, proper care, and the right nutrients, your balcony or garden can become a tropical fruit corner bursting with life.
In just a few months, you’ll be enjoying your own sweet, sun-kissed papayas — proof that even small spaces can produce big harvests when you garden with love and attention. 🌿🥭