
You are doing it all wrong. Here’s the right way to clean your microwave
The microwave is one of the most frequently used appliances in the kitchen, yet it is often overlooked when it comes to regular cleaning. Many people assume that a quick wipe-down with a damp cloth is sufficient, but this is far from the truth. A dirty microwave not only looks unappealing but can also harbor bacteria, produce unpleasant odors, and even affect the taste of your food.
In this guide, we’ll walk you through the most effective steps to clean your microwave thoroughly and efficiently. By following these techniques, you can ensure your microwave remains hygienic, smells fresh, and performs at its best. Whether you use your microwave daily or occasionally, adopting a proper cleaning routine will save you time, effort, and potential food contamination.
1. Why a Clean Microwave Matters
Maintaining a clean microwave is essential not only for hygiene but also for optimal performance. Over time, food splatters and spills can accumulate, creating a breeding ground for bacteria and unpleasant odors. The USDA notes that bacteria such as Salmonella and E. coli can thrive in leftover food residue, posing a risk of foodborne illness.
Additionally, a dirty microwave can interfere with cooking efficiency. Residue can absorb microwave energy, causing uneven heating and longer cooking times. This is not only inconvenient but can also waste energy. Regular cleaning ensures your microwave heats food evenly and operates efficiently, saving both time and electricity.
2. Gather Your Cleaning Supplies
Before you start, make sure you have all necessary cleaning tools ready. You’ll need:
-
A microwave-safe bowl
-
A sponge or soft cloth
-
Lemon juice or vinegar
-
Baking soda
-
A soft-bristle brush
Optional but helpful: rubber gloves to protect your hands from steam and cleaning solutions, and a small spray bottle filled with a water-vinegar mixture for spot-cleaning the exterior. Preparing these supplies in advance makes the cleaning process faster and more effective.
3. Steam Clean for Easier Dirt Removal
Steam cleaning is one of the simplest ways to loosen stubborn food particles inside your microwave. Fill a microwave-safe bowl with water and place a damp sponge inside. Microwave on high for about 2 minutes, allowing the steam to fill the interior. Afterward, leave the door closed for a few more minutes so the steam can work on tough grime.
Carefully remove the hot bowl and sponge, then wipe the interior with a damp cloth. Steam softens food residue, making it much easier to clean without scrubbing aggressively.
4. Harness the Power of Lemon
Lemon juice acts as a natural degreaser and deodorizer, perfect for keeping your microwave fresh. Squeeze the juice of one lemon into a microwave-safe bowl filled with water and add the lemon halves. Microwave on high for 3–5 minutes.
The steam will loosen stuck-on food, while the lemon scent leaves the microwave smelling clean and refreshing. Let the bowl sit for a few minutes after microwaving, then carefully remove it and wipe the interior with a clean cloth. For extra freshness, you can occasionally rub the interior with the lemon halves themselves.
5. Handle the Door With Care
The microwave door is often the first thing people notice, so it should be kept clean without damage. Avoid harsh chemicals or abrasive scrubbers, which can scratch the surface or harm the seals. Instead, use a soft cloth dampened with mild dish soap and water.
Gently wipe the edges and seals, where grime tends to accumulate. For the glass, a solution of equal parts water and vinegar removes fingerprints without leaving streaks, keeping your microwave looking pristine.
6. Always Remove the Turntable
The microwave plate or turntable is usually the dirtiest part because it catches food spills. Always remove it before cleaning the interior. Most plates are dishwasher safe, but if washing by hand, soak in warm, soapy water for a few minutes. Use a sponge or soft-bristle brush to scrub away residue, rinse, and dry thoroughly before returning it to the microwave.
7. Let Steam Do the Heavy Lifting
Steam is a gentle but effective cleaning tool. After steaming with a sponge or lemon water, wipe the interior with a soft cloth. For tough stains, create a paste from baking soda and water, apply it to the stain, let it sit for a few minutes, then scrub gently. Baking soda lifts grime without scratching surfaces.
8. Wipe the Interior Properly
Use a soft cloth or sponge with warm, soapy water, starting at the top and working down. Ensure you reach all corners and crevices, but avoid soaking the interior to prevent damage to electronic components. Finish with a dry cloth to remove moisture, which helps prevent mold or mildew.
9. Clean the Exterior and Control Panel
The exterior, including the control panel, collects fingerprints and grime quickly. Use a microfiber cloth with a water-vinegar mixture for gentle cleaning. Avoid excess water around buttons and vents. For stainless steel surfaces, a stainless steel cleaner or polish will maintain the shine; always wipe in the direction of the grain.
10. Naturally Deodorize Your Microwave
To maintain a fresh smell, place a bowl of baking soda or activated charcoal inside when not in use. Both absorb odors naturally. Alternatively, microwave water with a few drops of essential oil for a pleasant aroma. Regular deodorizing prevents lingering food smells from building up.
11. Regular Maintenance Tips
Prevent grime and odors by wiping down the interior and exterior after each use. Set a weekly or bi-weekly schedule for a more thorough cleaning. Check seals and vents for blockages, and always keep the microwave dry to avoid mold growth. A little regular care goes a long way in maintaining a hygienic and efficient appliance.
With these tips, your microwave will not only look and smell great but also operate more efficiently, making your cooking faster, safer, and more enjoyable. Cleaning doesn’t have to be a chore—treat it as a simple part of your kitchen routine, and your appliance will thank you!
News in the same category


Here's how to open a can in an emergency (this is so simple!)

When buying avocado, don't be greedy for big fruit or you'll "waste money", choose this point to get the most delicious and supple one.

98% of people don't know what the hole in a safety pin is for

What are the health benefits of mackerel? How to cook mackerel to make it rich and delicious

Boiled chicken often has red bones: Do this extra step to make the chicken delicious, not have cracked skin, and remove all bad odors.

Put a branch of ginger under your pillow before going to bed: A good tip both men and women need, not knowing is a waste

How to remove odors and dirt from electric kettles very simply: If you don't know, it's a waste

Tips to keep garlic from turning green after soaking in vinegar. It can be kept for a whole month and still be white, crispy, and not soggy.

Refrigerator: Do it this way, it will stay fresh for a month, no blackening or spoilage

You are doing it all wrong. Here’s the right way to use your slow cooker

10 genius tricks to revive your garden patio
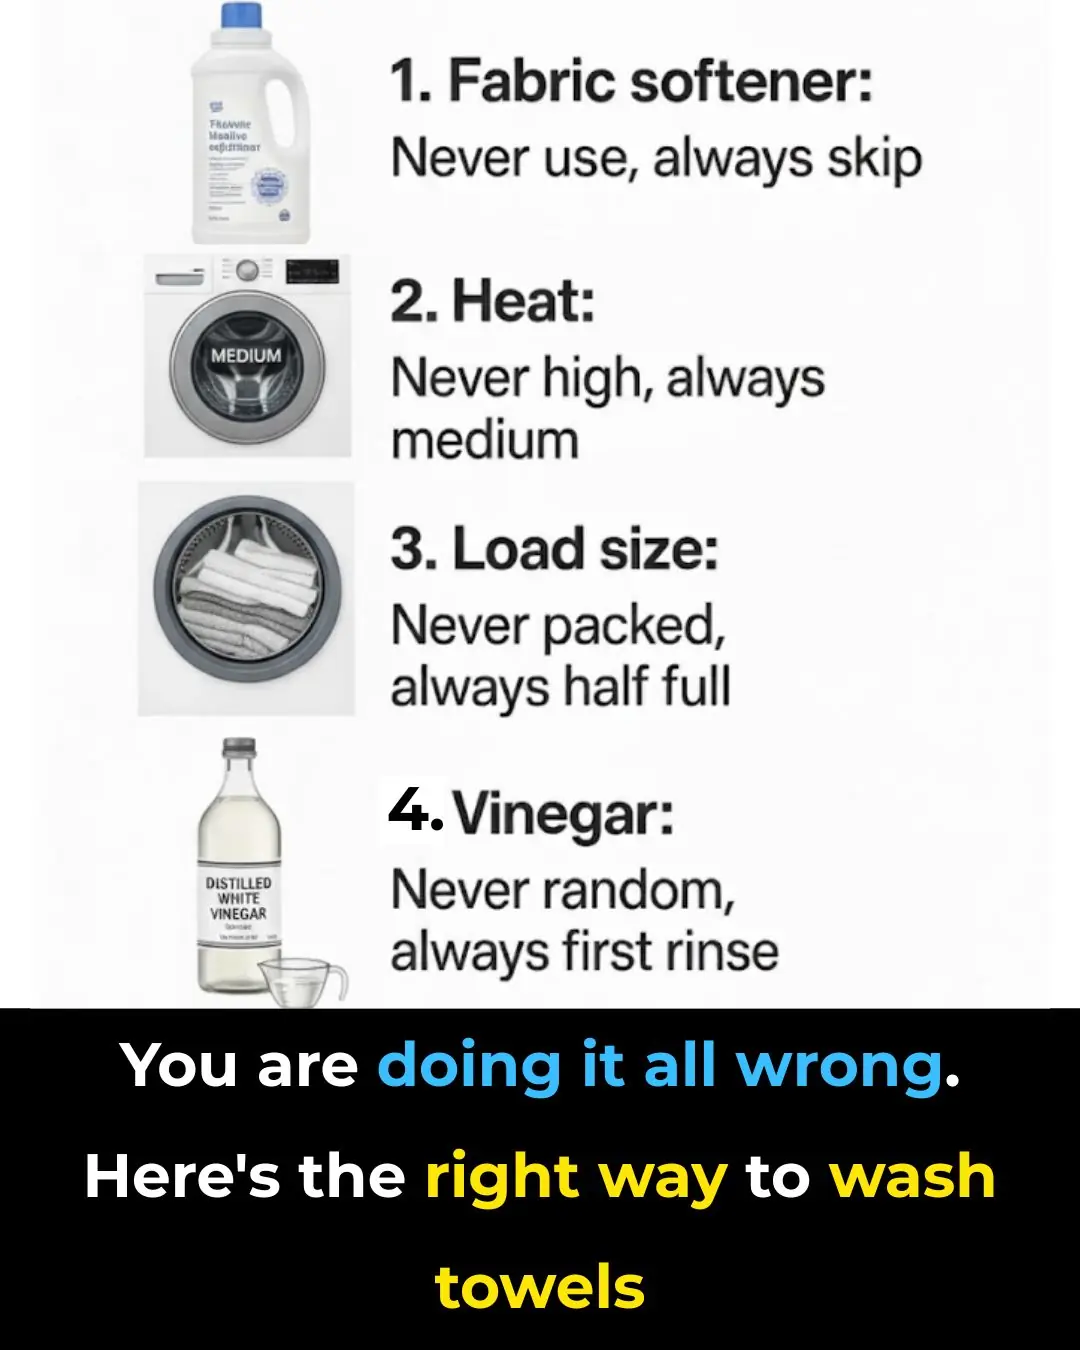
You are doing it all wrong. Here’s the right way to wash towels

You are doing it all wrong. Here’s the right way to store wrapping paper
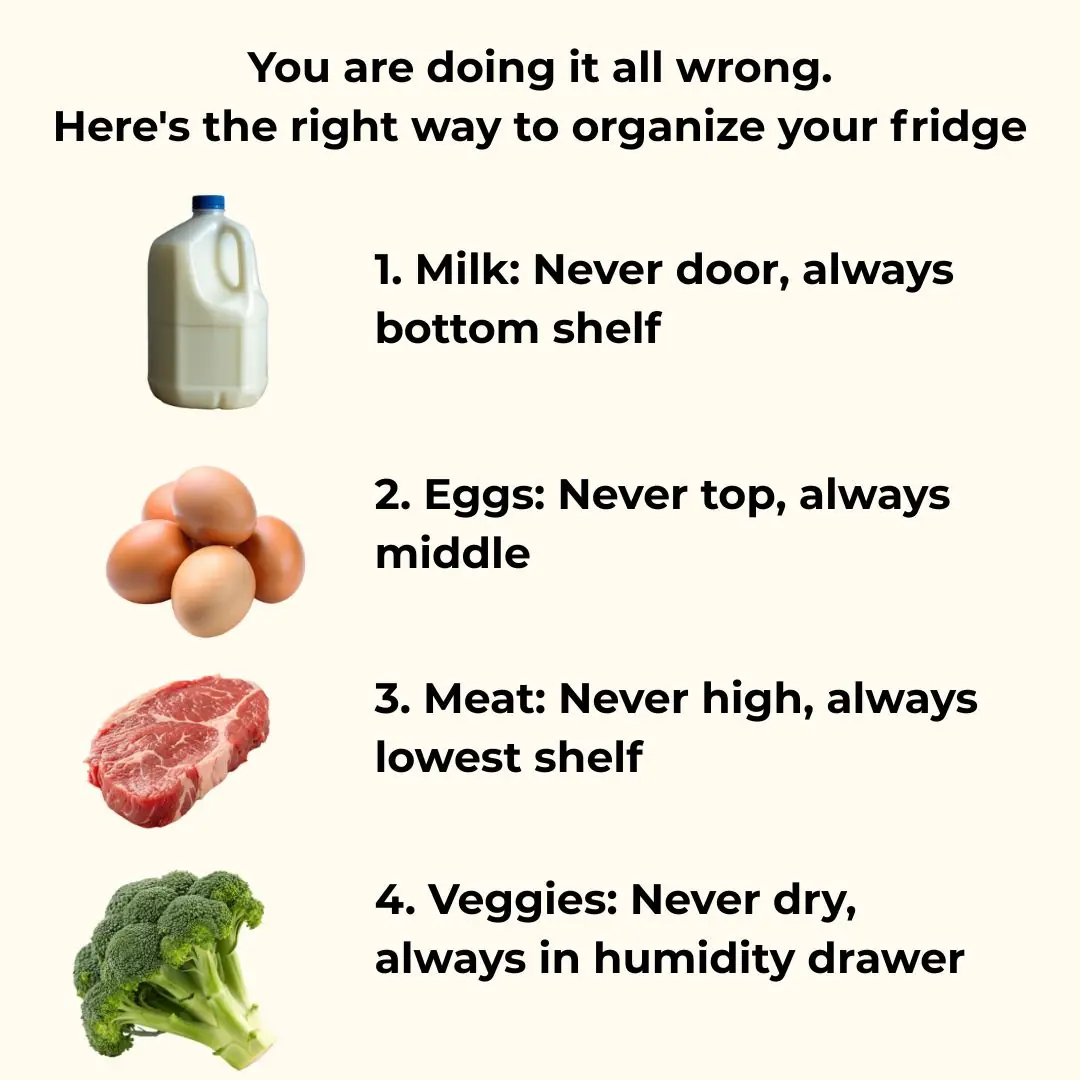
You are doing it all wrong. Here’s the right way to organize your fridge
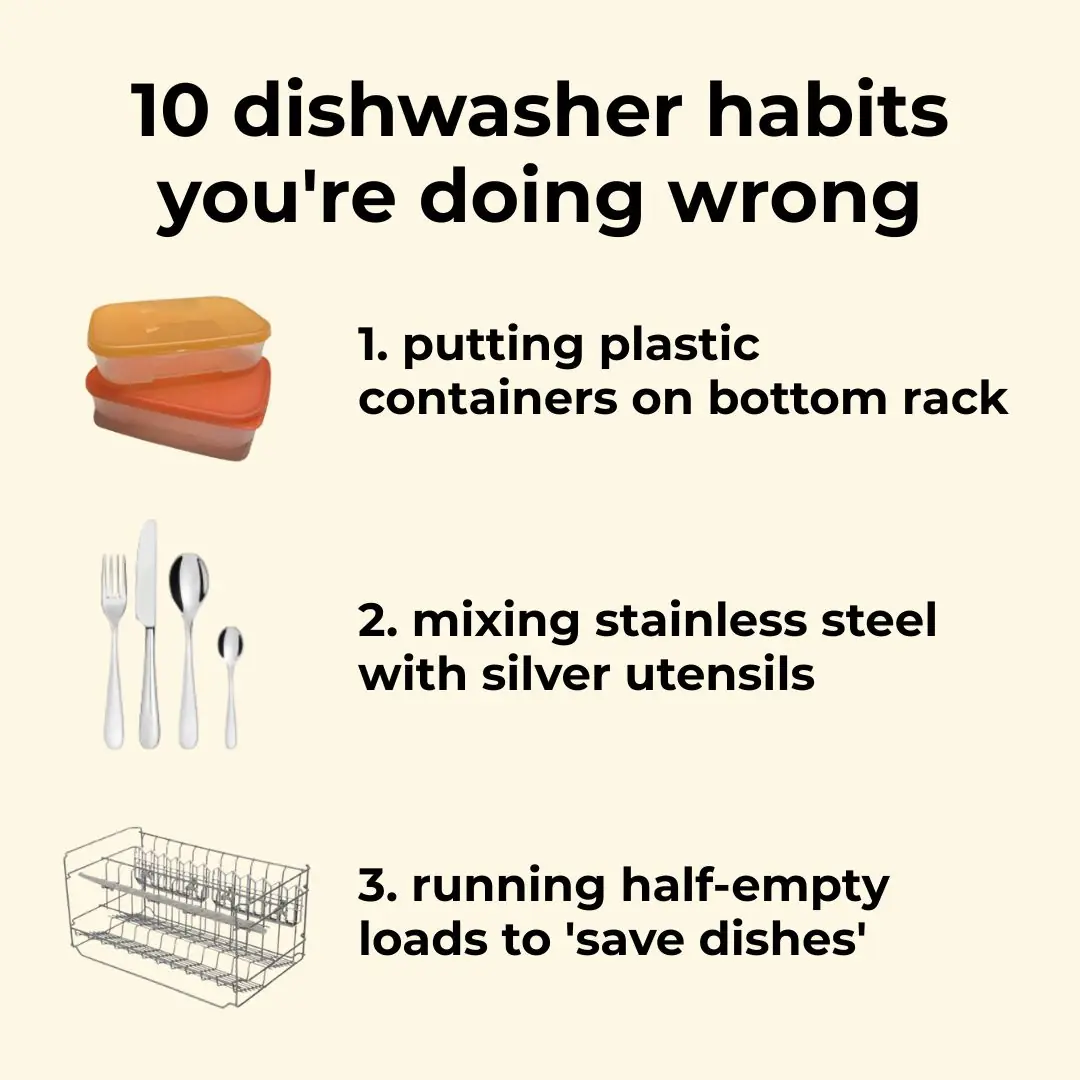
10 dishwasher habits you’re doing wrong

You’re doing it all wrong. Here’s the right way to store produce
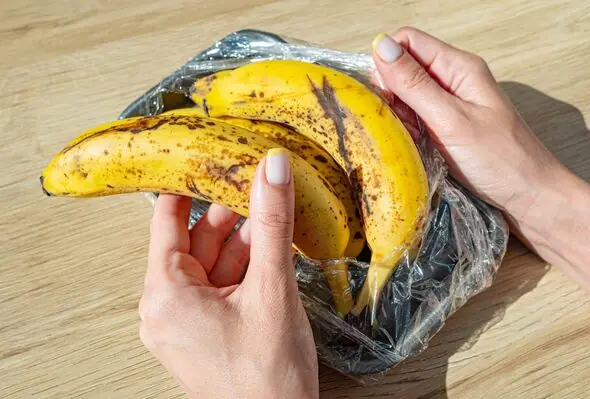
When you eat a banana with spots that is turning brown, here's what happens to your body
My toenail turned thick and yellow. Clinic can’t see me anytime soon. What is this?
News Post

DIY Natural Collagen Powder for Glowing, Youthful Skin

7 Heart-Healing Foods Your Cardiologist Won’t Tell You About

Say Goodbye to Joint and Bone Pain Naturally with This Ancient Herbal Remedy

Do you belong to these 4 types of people? You should know now.

Don't throw away rotten tomatoes, the rottener the tomatoes, the more useful they are if you know these uses

Here's how to open a can in an emergency (this is so simple!)

When buying avocado, don't be greedy for big fruit or you'll "waste money", choose this point to get the most delicious and supple one.

98% of people don't know what the hole in a safety pin is for

What are the health benefits of mackerel? How to cook mackerel to make it rich and delicious

Boiled chicken often has red bones: Do this extra step to make the chicken delicious, not have cracked skin, and remove all bad odors.

The Hidden Meanings Behind Men Wearing Earring

Put a branch of ginger under your pillow before going to bed: A good tip both men and women need, not knowing is a waste

What Happens If You Consume Raw Garlic Daily

Take a Glass of This and Your Liver Will Be Renewed!

How to remove odors and dirt from electric kettles very simply: If you don't know, it's a waste

Tips to keep garlic from turning green after soaking in vinegar. It can be kept for a whole month and still be white, crispy, and not soggy.

Refrigerator: Do it this way, it will stay fresh for a month, no blackening or spoilage

You are doing it all wrong. Here’s the right way to use your slow cooker
