
How to Effectively Clean Black Mold from Your Refrigerator Gasket in Just 5 Minutes
When it comes to maintaining a clean and healthy kitchen, we often overlook the small but significant parts of our appliances. One such part is the refrigerator gasket. The rubber seal around your refrigerator door is crucial in maintaining the appliance's energy efficiency and preventing cold air from escaping. However, it can also become a breeding ground for mold, especially in damp or humid environments. Black mold on the gasket is not only unsightly but can also lead to unpleasant odors and even affect your health.
If you’ve noticed black mold growing on your refrigerator gasket, don’t worry! With a simple cleaning solution, you can get rid of the mold in just five minutes. Here’s how you can easily clean your refrigerator gasket and restore its cleanliness and functionality.
Why Does Mold Grow on Refrigerator Gaskets?
Before diving into the cleaning process, it’s important to understand why black mold appears on refrigerator gaskets in the first place. Refrigerators are often in damp environments, with moisture from food, condensation, and humidity. This moisture gets trapped in the rubber gasket around the door, which provides the perfect conditions for mold growth. If the gasket is not properly cleaned or dried regularly, mold can form and spread.
Not only does mold look unpleasant, but it can also pose health risks, especially for individuals with respiratory conditions, allergies, or weakened immune systems. Therefore, it’s essential to clean it as soon as you spot it.
What You’ll Need to Clean the Gasket
The great thing about cleaning the mold from your refrigerator gasket is that you don’t need to buy expensive cleaning products. In fact, you likely already have a natural and effective cleaner in your home. Here’s what you’ll need:
-
Baking soda: Baking soda is an effective and safe cleaning agent that helps remove mold and odors.
-
Vinegar: Vinegar has antifungal properties that can kill mold and prevent further growth.
-
Water: You’ll need water to dilute the vinegar and baking soda.
-
A clean cloth or sponge: Use a soft cloth or sponge to scrub the gasket without damaging it.
-
A toothbrush: A toothbrush can be used for more precise cleaning in the crevices and corners of the gasket.
Step-by-Step Guide to Cleaning Your Refrigerator Gasket
Step 1: Prepare Your Cleaning Solution
Begin by creating a simple cleaning solution using ingredients you probably already have in your pantry. Mix equal parts of vinegar and water in a spray bottle. For a stronger solution, add a tablespoon of baking soda to the mix. Shake the bottle well to combine the ingredients. This natural cleaning solution will not only remove mold but also help eliminate odors.
Step 2: Apply the Solution to the Gasket
Spray the cleaning solution generously onto the refrigerator gasket. Make sure to cover the entire surface, especially the areas where you’ve noticed black mold. The vinegar in the solution will begin to break down the mold, while the baking soda will act as a mild abrasive to lift away the grime.
Step 3: Let It Sit for a Few Minutes
Allow the cleaning solution to sit on the gasket for around 5 minutes. During this time, the vinegar will penetrate the mold and begin to kill the spores, while the baking soda will loosen the dirt and grime. This waiting period is essential for effective cleaning, as it gives the solution time to work.
Step 4: Scrub Away the Mold
After waiting, use a soft cloth or sponge to wipe the gasket. Gently scrub the affected areas, applying more cleaning solution if necessary. If the mold is stubborn or stuck in the crevices, use a toothbrush to scrub those hard-to-reach spots. The bristles of the toothbrush are perfect for getting into the small folds and corners of the gasket.
Step 5: Rinse and Dry the Gasket
Once you’ve removed the mold, it’s important to rinse the gasket with clean water to remove any leftover cleaning solution. Use a damp cloth to wipe away any remaining residue, and then dry the gasket thoroughly with a dry cloth. This step is crucial, as excess moisture can encourage mold to return.
Step 6: Prevent Future Mold Growth
To prevent mold from growing back, make sure to keep your refrigerator gasket clean and dry. After each use, wipe the gasket with a dry cloth to remove any moisture. It’s also a good idea to check the gasket regularly for any signs of mold or mildew. Additionally, ensure that the refrigerator door is closed tightly to prevent excess moisture buildup.
Additional Tips for Maintaining a Mold-Free Refrigerator
-
Keep the fridge clean: Regularly clean your refrigerator’s interior, as food spills can contribute to moisture buildup and mold growth. Wipe down shelves and drawers and discard any expired or spoiled items.
-
Check the door seal: Regularly inspect the refrigerator door gasket for any signs of wear or damage. If the gasket is cracked or torn, it may be time to replace it to ensure a tight seal.
-
Maintain optimal humidity levels: Use a dehumidifier in the kitchen if humidity levels are high, as excess moisture can promote mold growth.
-
Use an odor absorber: Consider placing an odor absorber, such as activated charcoal or a box of baking soda, inside your fridge to keep it fresh and dry.
Conclusion
Cleaning black mold from your refrigerator gasket doesn’t have to be a daunting task. With just a few household ingredients and a bit of elbow grease, you can eliminate mold in as little as five minutes. Regular maintenance and keeping your refrigerator door gasket clean and dry will help prevent mold from returning. By following the steps outlined above, you can maintain a mold-free fridge and create a healthier kitchen environment for you and your family.
This article focuses on natural and effective ways to remove black mold from refrigerator gaskets, providing a step-by-step guide for easy cleaning and long-term maintenance.
News in the same category


Place a Bowl of Salt in the Fridge: A Small Trick, But So Effective — I Regret Not Knowing It for 30 Years

Bubble Wrap Has 4 Uses 'As Valuable as Gold' — But Many People Don’t Know and Hastily Throw It Away

3 Ways to Prevent Snakes from Entering Your House: Protect Your Family
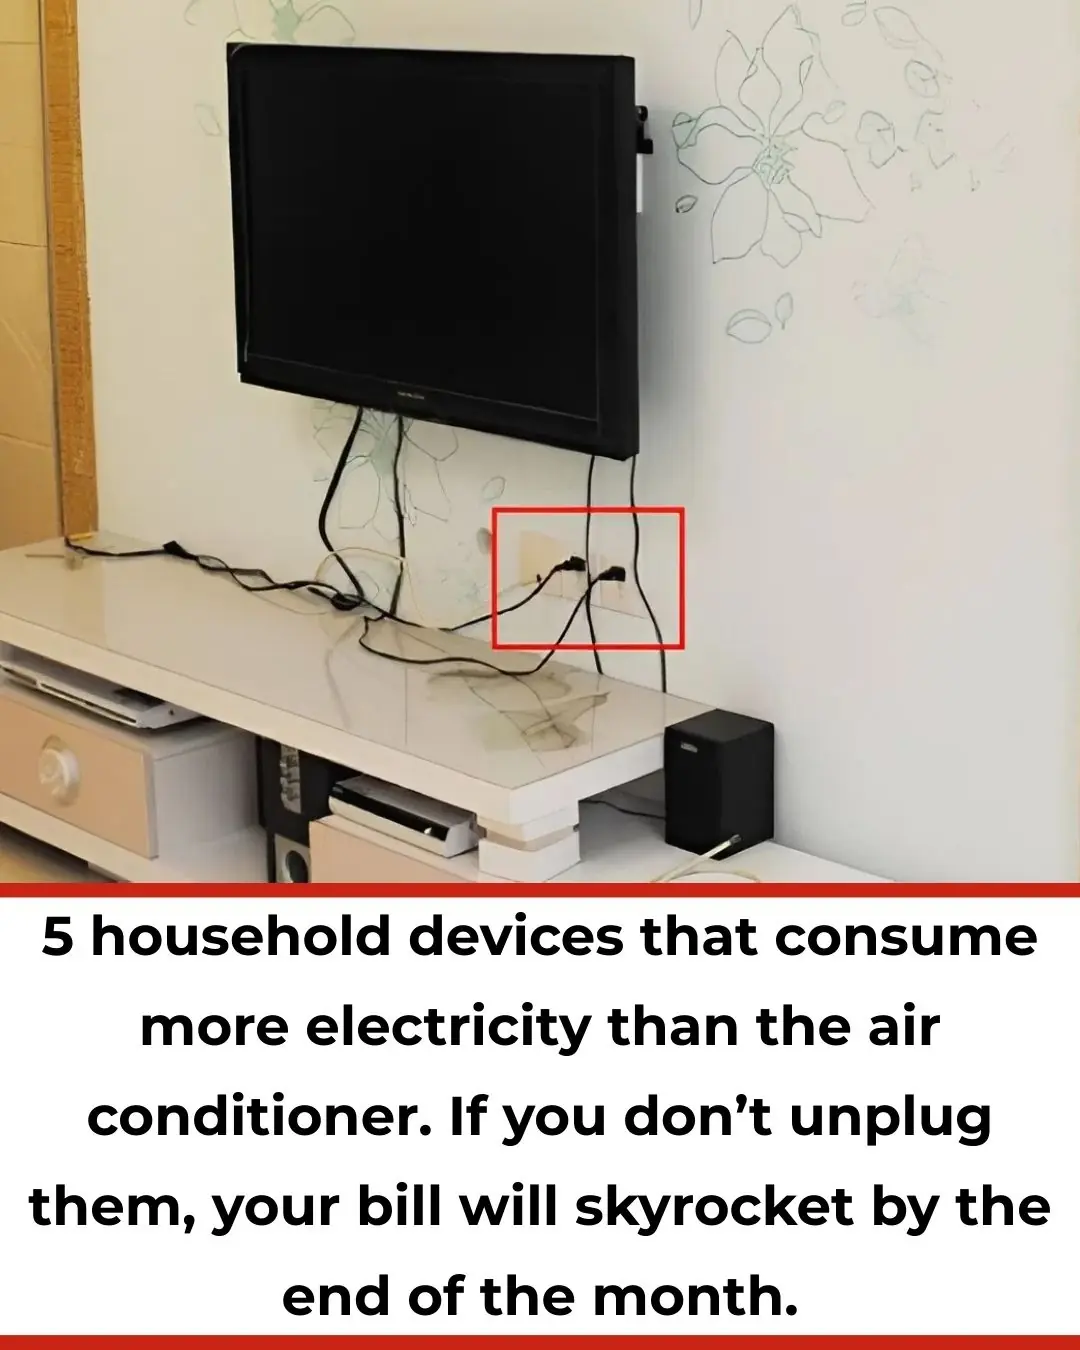
5 Household Devices That Consume More Electricity Than an Air Conditioner: Unplug Them to Avoid Skyrocketing Bills

How a Common Kitchen Powder Can Help Your Plants Thrive and Bloom

lacing these 3 things on top of the fridge will cause wealth to disappear, no matter how much you have.

Buying bananas: Wise people turn away when they see these 3 types, while foolish ones grab them just because they’re cheap
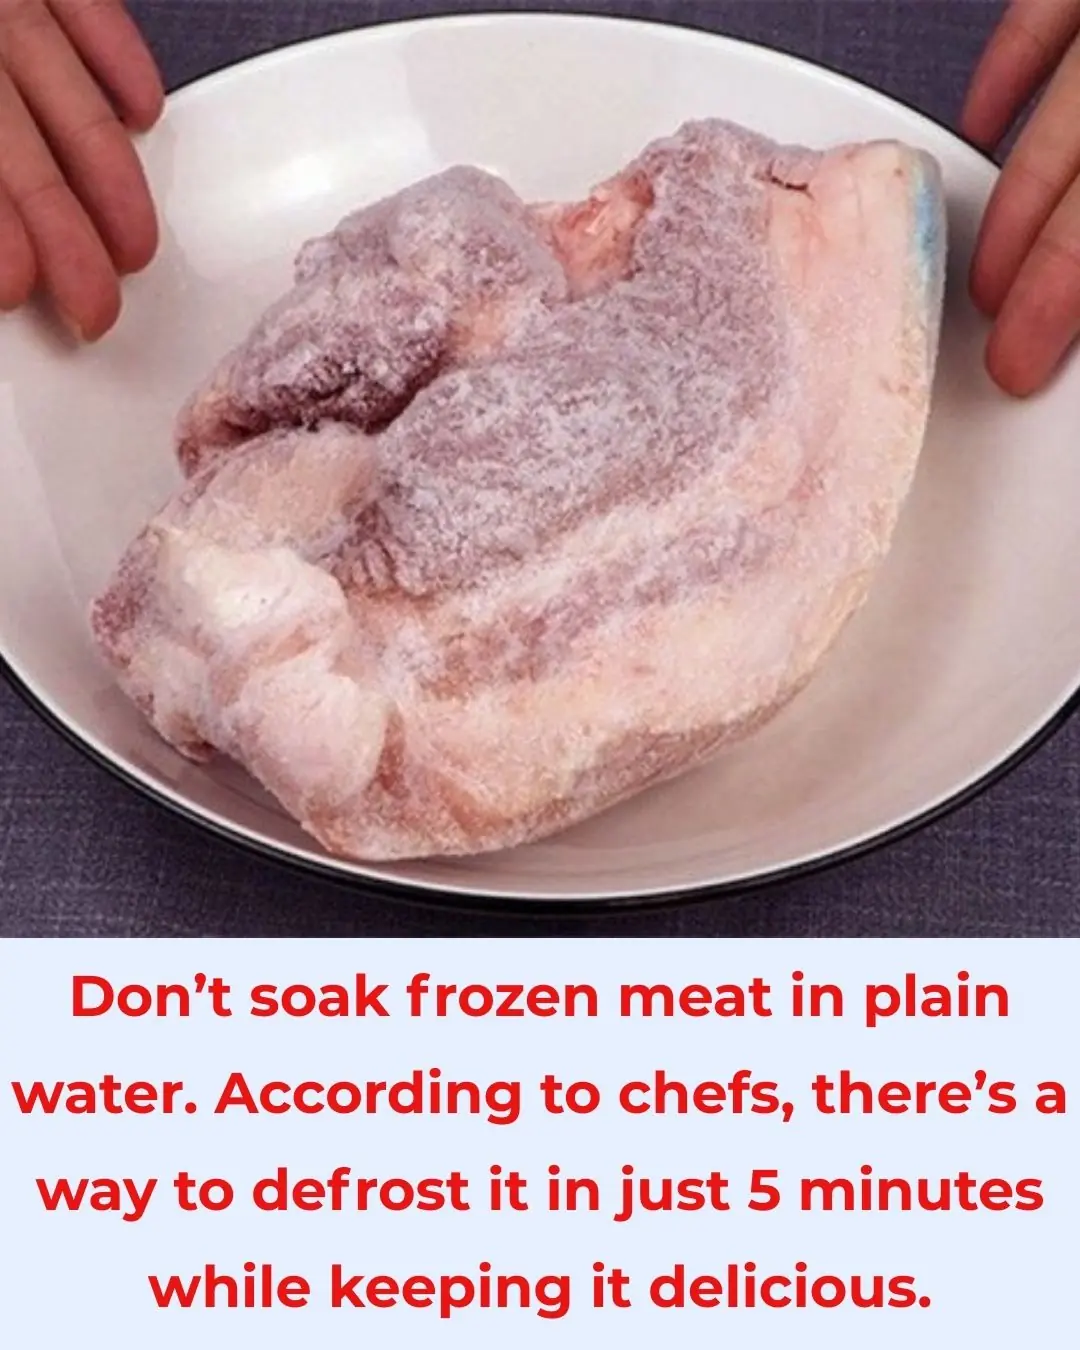
Don’t soak frozen meat in plain water. According to chefs, there’s a way to defrost it in just 5 minutes while keeping it delicious.

Water heaters have a hidden 'switch.' Any household that knows how to open it can use it for 10 years without worrying about damage or high electricity bills
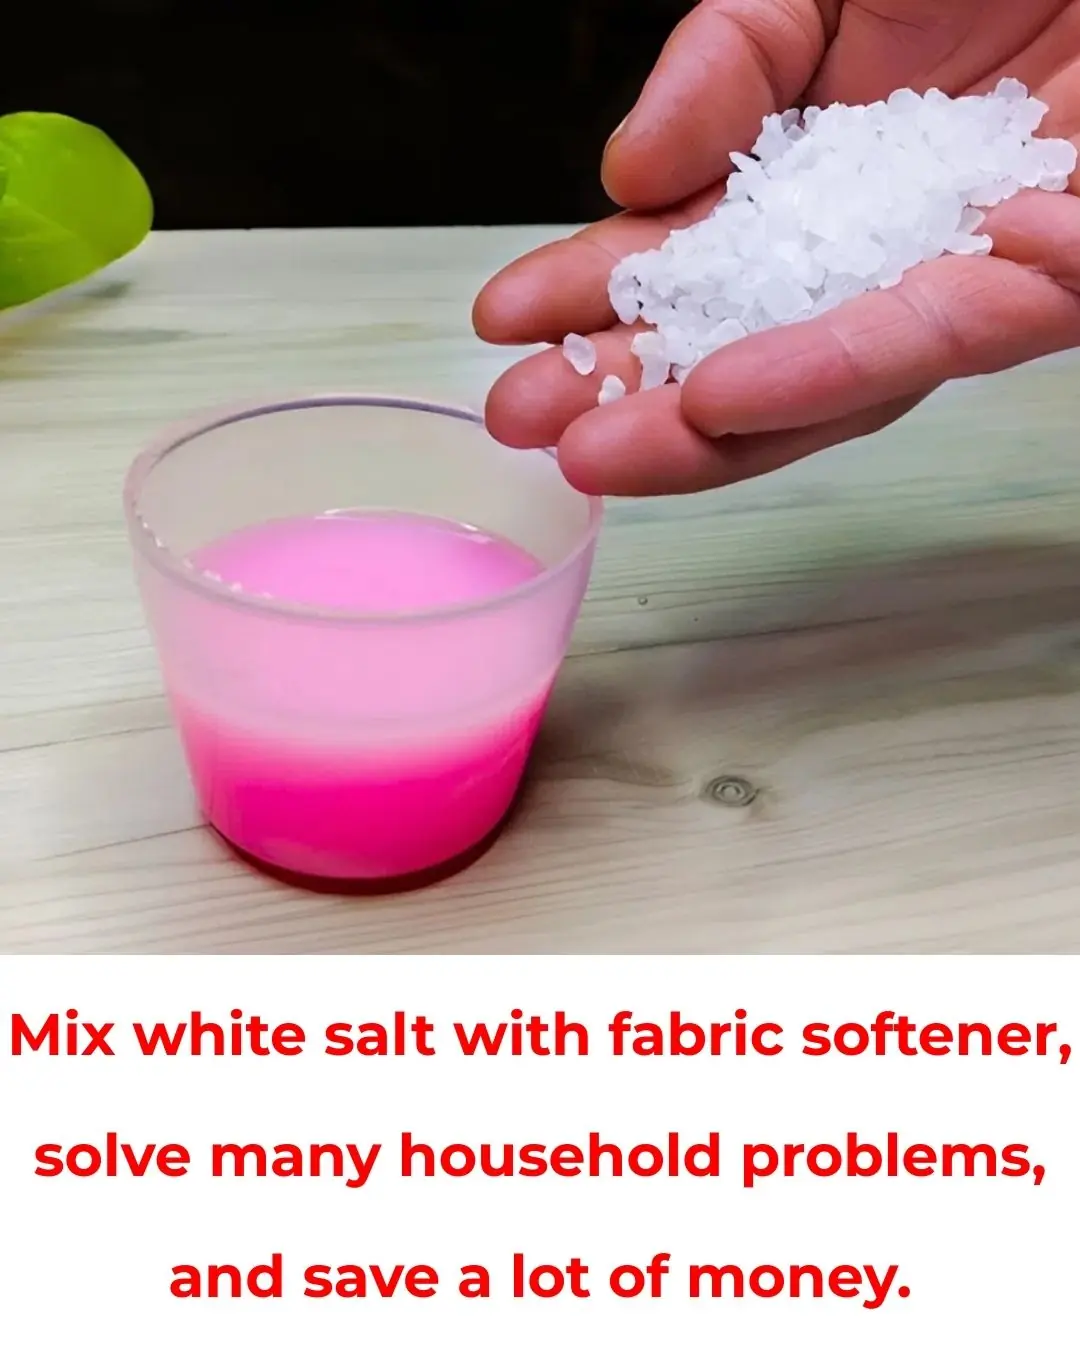
Mix white salt with fabric softener, solve many household problems, and save a lot of money.

Apply this on a knife, and no matter how dull it is, it will become razor-sharp and shiny, without needing a whetstone.
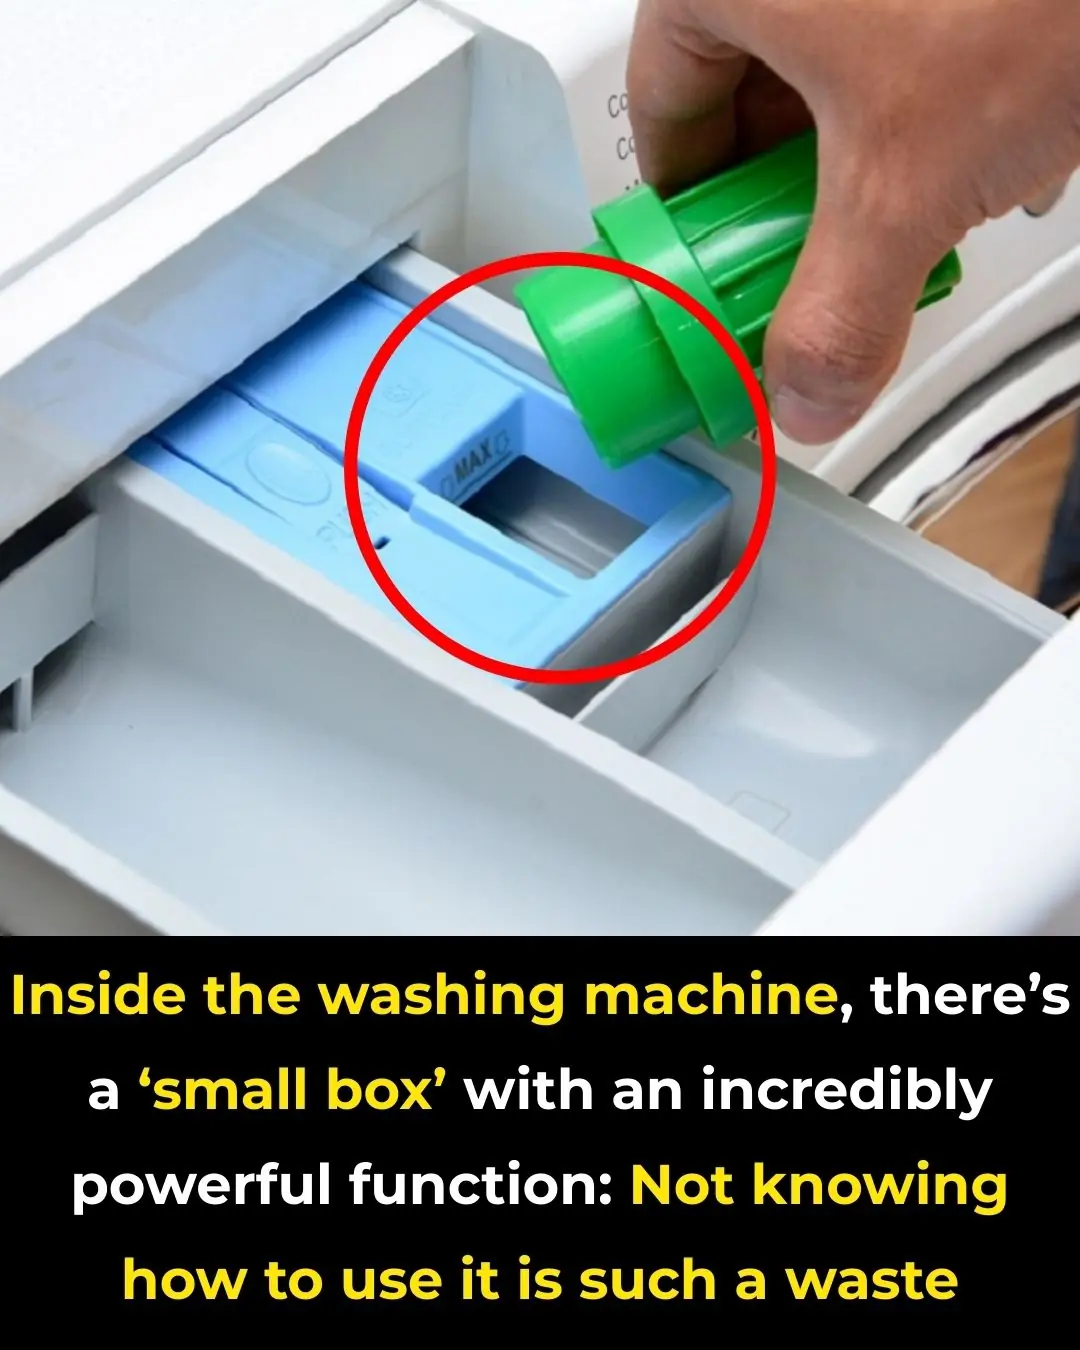
Inside the washing machine, there’s a ‘small box’ with an incredibly powerful function: Not knowing how to use it is such a waste.

Why should you keep some money behind your phone case?
News Post

You Can Adopt Puppies That Were ‘Too Friendly’ to Become Police Dogs

A Nigerian Scientist Developed a High-Tech Cancer-Detecting Goggles That Help Surgeons Spot Cancer Cells More Accurately.

Final straw that led to billionaire CEO's desperate escape from Japan inside 3ft box

Mutant deer with horrifying tumor-like bubbles showing signs of widespread disease spotted in US states

'Frankenstein' creature that hasn't had s3x in 80,000,000 years in almost completely indestructible

Scientists discover ultra-massive 'blob' in space with a mass of 36,000,000,000 suns

When a Washing Machine Shows 7kg, 8kg, or 10kg, Is That the Weight of Dry or Wet Clothes? The Real Meaning Behind These Numbers Is Something That Few People Know

Place a Bowl of Salt in the Fridge: A Small Trick, But So Effective — I Regret Not Knowing It for 30 Years

If Your White Walls Are Dirty, Don’t Clean Them with Water — Use This Trick for a Few Minutes, and Your Wall Will Be as Clean as New

Bubble Wrap Has 4 Uses 'As Valuable as Gold' — But Many People Don’t Know and Hastily Throw It Away

3 Ways to Prevent Snakes from Entering Your House: Protect Your Family

5 Household Devices That Consume More Electricity Than an Air Conditioner: Unplug Them to Avoid Skyrocketing Bills

How a Common Kitchen Powder Can Help Your Plants Thrive and Bloom

10 Early Warning Signs Your Blood Sugar Is Way Too High

If Your Legs Cramp at Night You Need to Know This Immediately

Warning Signs Your Body Is Full of Parasites and How to Effectively Eliminate Them Naturally

Warning Signs of a Parasite Infection And How to Eliminate It for Good
What Raw Garlic Can Do for Your Health Is Truly Unbelievable
