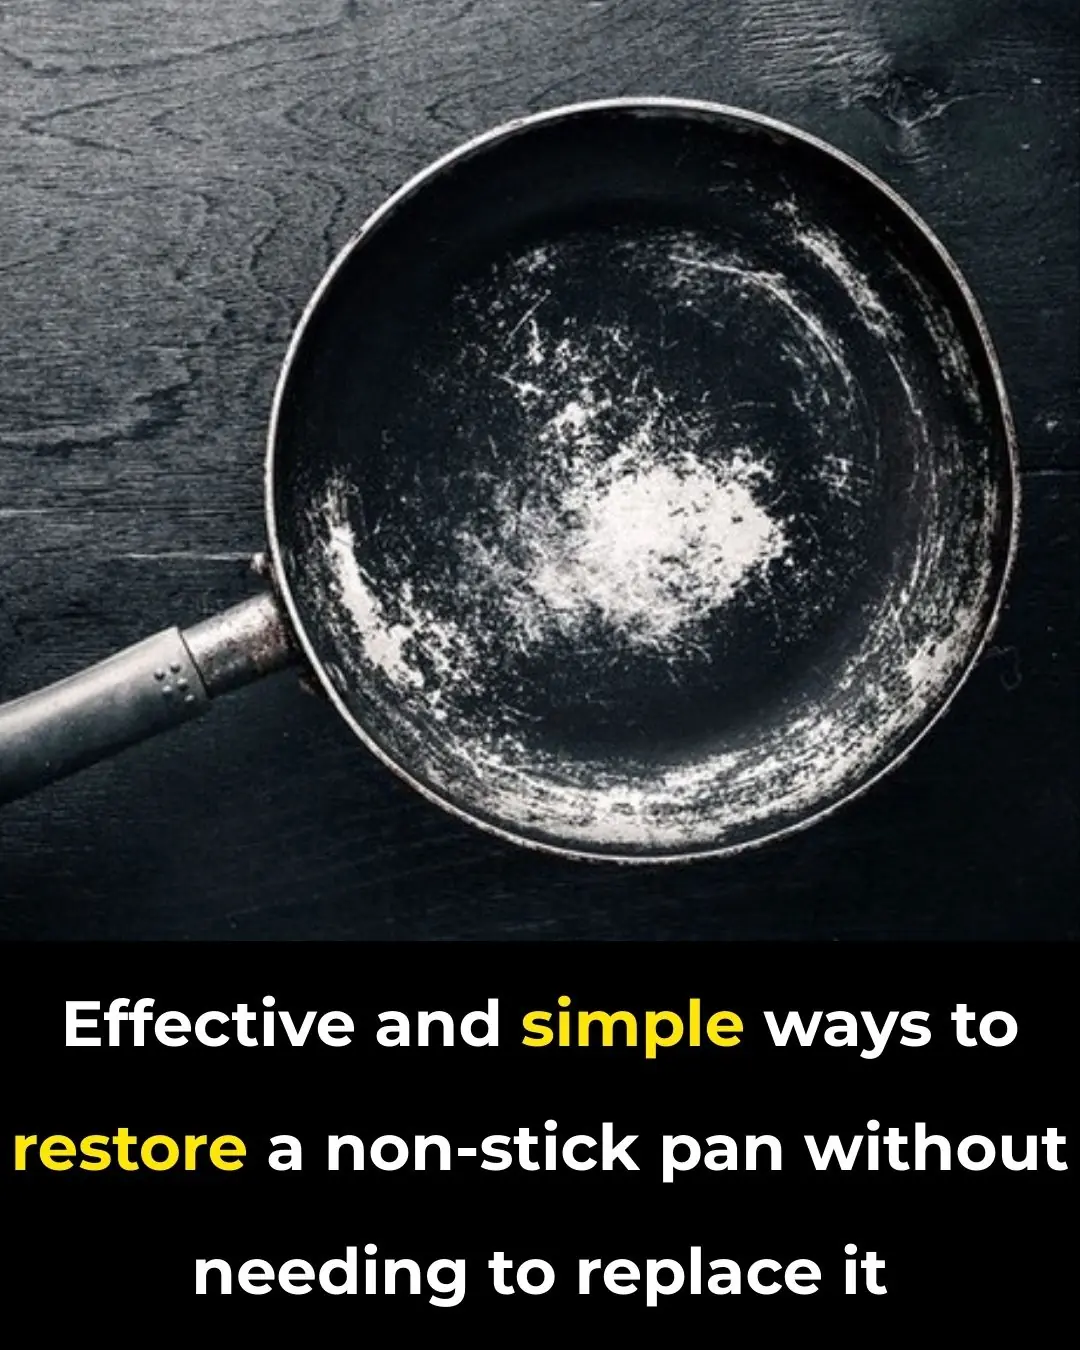
Non-stick pans are incredibly convenient for cooking, allowing you to prepare meals with less oil and making cleanup much easier. However, over time, the non-stick coating can wear off due to frequent use, cleaning, or high heat, rendering the pan less effective and often frustrating to use. You might be tempted to throw it away and buy a new one, but before you do, there’s a simple trick that can help restore your old pan to its former glory.
In this article, we’ll show you how to bring your non-stick pan back to life using a few household items and some simple steps, saving you money and giving your pan a second chance.
Why Does the Non-Stick Coating Wear Off?
Non-stick pans typically have a coating made of PTFE (polytetrafluoroethylene) or ceramic. With regular use, high heat, or abrasive cleaning tools, the coating can chip, crack, or peel off. When this happens, the pan loses its non-stick properties, making it harder to cook food without it sticking to the surface, and cleanup becomes more tedious.
The Trick to Restore Your Non-Stick Pan
While you can’t completely restore the original non-stick coating once it’s damaged, there’s a way to improve the performance of your pan and make it more usable again. The secret? Seasoning the pan.
Seasoning creates a new protective layer on the surface of the pan, which can improve its non-stick properties and help prevent further damage.
How to Restore Your Non-Stick Pan by Seasoning It
Follow these simple steps to give your old non-stick pan a like-new feel:
Step 1: Clean the Pan Thoroughly
Before you start, you need to make sure the pan is completely clean. Remove any leftover food, oil, or grease that may have accumulated. If the pan is very dirty, soak it in warm, soapy water for a few hours and scrub it gently with a soft sponge to avoid damaging the surface further.
Step 2: Dry the Pan Completely
Once the pan is clean, dry it completely with a towel or let it air dry. This step is important because you don’t want any moisture left in the pan when applying the oil.
Step 3: Choose the Right Oil
For seasoning, use oils with a high smoke point, such as vegetable oil, canola oil, or flaxseed oil. Flaxseed oil is a popular choice because it creates a durable, hard layer, but any of these oils will work fine.
Step 4: Apply the Oil
Place a small amount of oil (about 1 to 2 teaspoons) into the pan. Use a paper towel or a clean cloth to spread the oil evenly over the entire surface of the pan, including the sides. Be sure to coat the pan lightly, as too much oil can create a sticky residue.
Step 5: Heat the Pan
Place the pan on the stove over low to medium heat. Allow the oil to heat up and begin to smoke. This will help the oil bond with the surface of the pan and form a new layer. Let it smoke for about 5-10 minutes, depending on the type of oil you’re using.
Step 6: Cool and Wipe Off Excess Oil
After the pan has heated for a few minutes, turn off the heat and let the pan cool. Once it’s cool enough to handle, use a clean paper towel to wipe off any excess oil. The pan should have a smooth, glossy layer, which is the result of the seasoning process.
Step 7: Repeat if Necessary
For a more effective seasoning, you can repeat this process 2-3 times. Each layer of oil will improve the non-stick surface and enhance the durability of the seasoning. If your pan is particularly worn, it’s worth repeating this process several times to create a stronger non-stick layer.
Additional Tips to Maintain the Restored Pan
-
Avoid High Heat: After seasoning, avoid using your non-stick pan on extremely high heat. This can break down the seasoning and lead to damage.
-
Use Gentle Utensils: Always use wooden, silicone, or plastic utensils to prevent scratching the surface. Metal utensils can damage the seasoning layer and the non-stick coating.
-
Clean with Care: When cleaning the pan, avoid using abrasive sponges or harsh cleaning chemicals. Instead, use a soft sponge and mild dish soap. Always hand wash your non-stick pans to preserve the seasoning.
-
Regularly Re-Season: If you notice the non-stick properties diminishing again, you can re-season the pan periodically to keep it in good shape.
Benefits of Seasoning Your Non-Stick Pan
-
Improved Non-Stick Properties: The oil layer helps prevent food from sticking to the surface, making cooking and cleanup much easier.
-
Increased Durability: Seasoning can help extend the lifespan of your pan by providing an extra layer of protection against scratches and wear.
-
Better Cooking Performance: A seasoned pan heats more evenly, improving your cooking results and reducing the chances of burning food.
-
Cost-Effective: Instead of throwing away your old non-stick pan and buying a new one, seasoning it is a cost-effective way to restore it to a like-new condition.
Conclusion
Before you toss your old non-stick pan, try this simple seasoning trick to bring it back to life. By following the steps outlined above, you can restore the non-stick properties of your pan, improve its performance, and save money in the process. With a little care and attention, your old pan can continue serving you for many more meals!
