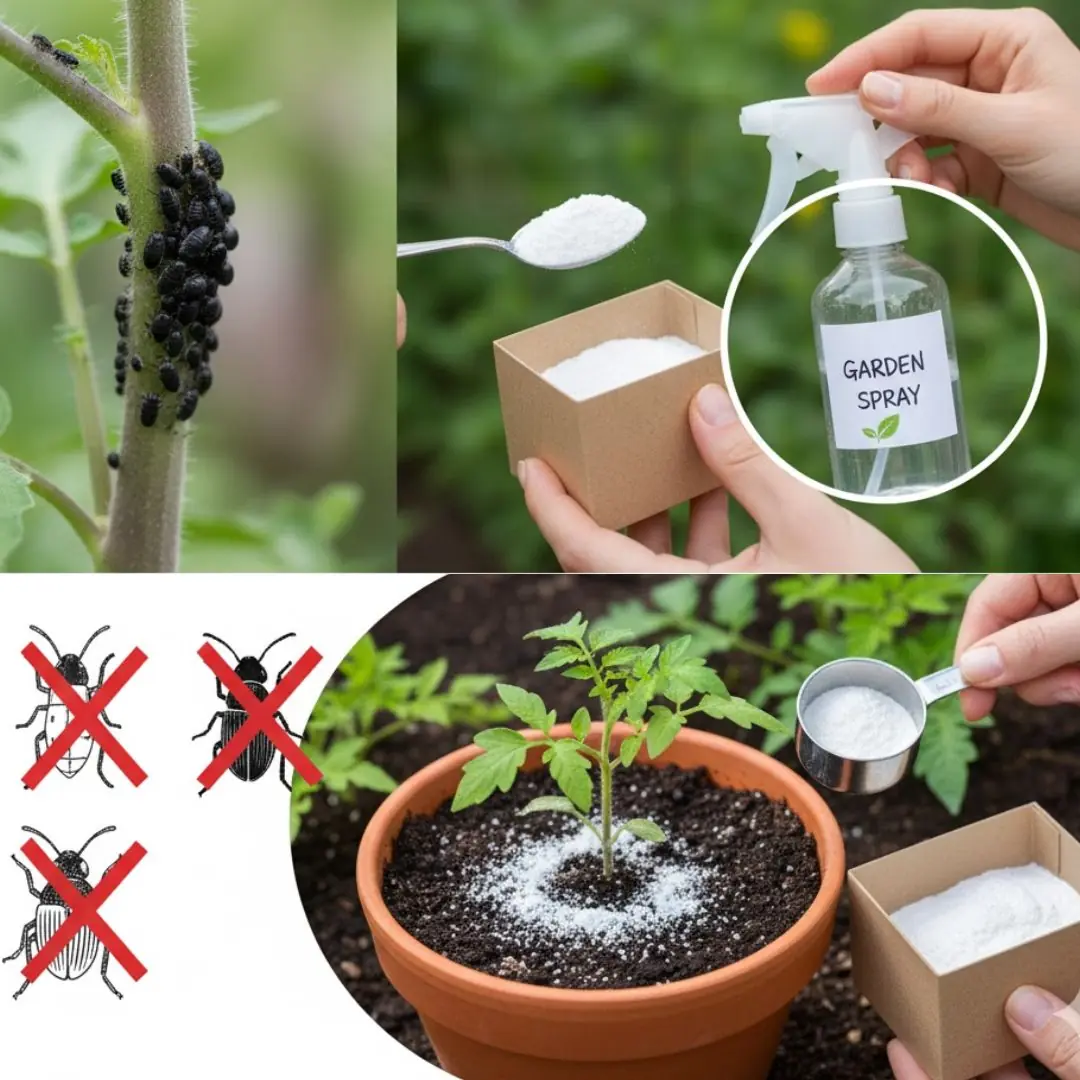
Little-known wonderful uses of baking soda in gardening
Tips 06/11/2025 22:48
Cracked caulking around your tub or sink can look messy and lead to moisture problems. But instead of scraping it all out, here’s a clever shortcut to refresh it quickly and effectively.
Silicone caulk (preferably the same color as the old one)
Rubbing alcohol or bathroom cleaner
Painter’s tape
Caulk smoothing tool or plastic spoon
Paper towels or cloth
Clean the Surface Wipe down the cracked caulk with rubbing alcohol or cleaner to remove soap scum, mildew, and dust. Let it dry completely.
Apply Painter’s Tape Tape along both sides of the old caulk line to keep the new layer neat and prevent overflow.
Apply New Caulk Over the Old Squeeze a thin bead of silicone caulk directly over the cracked line. Make sure it fills the gaps and overlaps slightly for a good seal.
Smooth It Out Use a caulk tool or the back of a spoon to smooth the new layer. Wipe away excess with a damp cloth.
Remove Tape and Let It Cure Peel off the tape while the caulk is still wet for clean edges. Let the caulk cure for 24 hours before using the area.
Use mildew-resistant caulk for bathrooms to prevent future cracking.
If the old caulk is moldy or peeling, it’s better to remove it completely.
This method works best for minor cracks, not large gaps or missing sections.