Grow Date Trees From Seed (Start in a Pot → Plant Outdoors): The Complete, No-Stress Guide
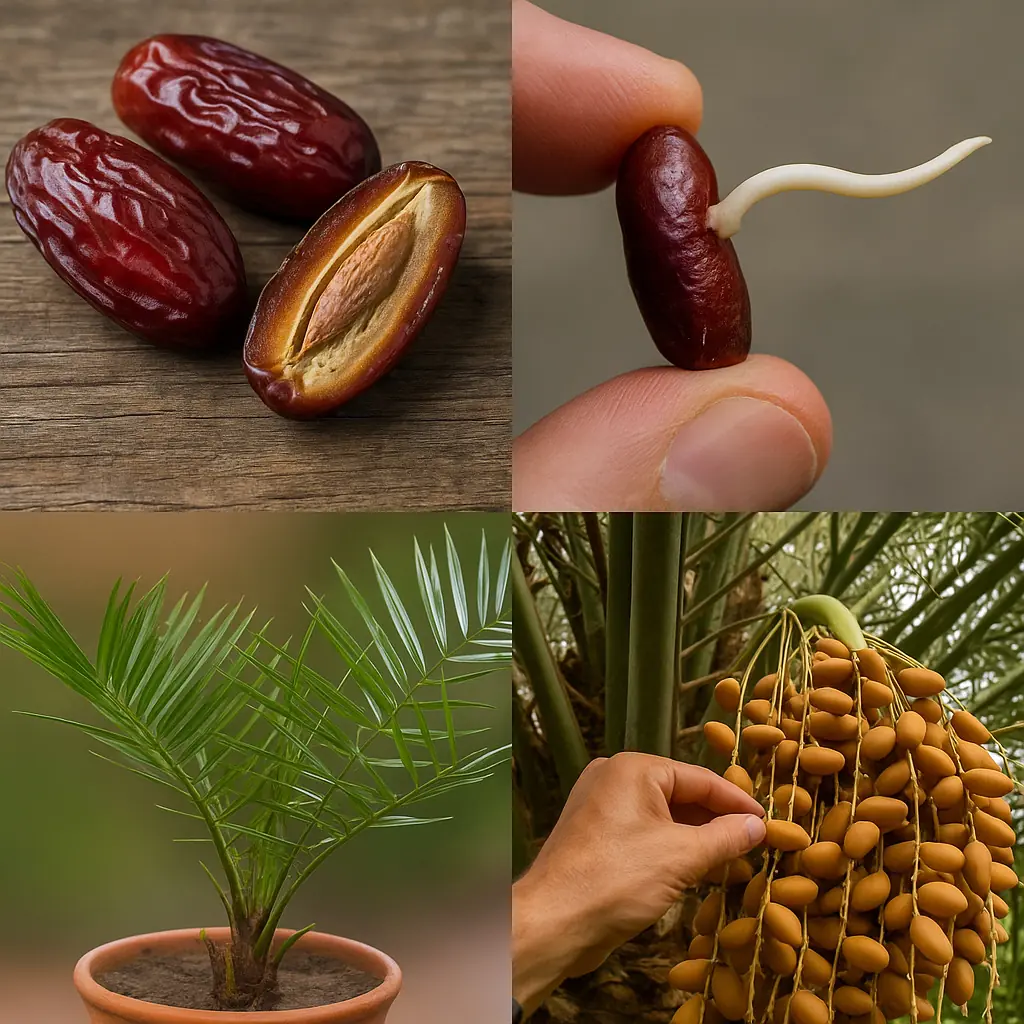
If you’ve ever wondered whether you can turn the seeds inside store-bought dates into real palm trees, the answer is yes—absolutely. Date palms (Phoenix dactylifera) germinate surprisingly well when given the right combination of warmth, depth, and time. With just a bit of preparation and patience, you can grow your own “palm babies” right at home.
This guide covers everything you need—from seed prep to sprouting, potting, outdoor planting, long-term care, and problem-solving. Whether you live in a warm climate or a cooler one with frosty winters, you’ll learn how to nurture date palms successfully.
Quick Overview: What You’ll Do
-
Select and prepare seeds: clean, soak, and optionally scarify before pre-sprouting.
-
Sprout in warmth: use a baggie or vermiculite method at 28–32°C.
-
Plant deep: date palms need tall pots for their long taproots.
-
Provide heat, light, and careful watering: especially during early growth.
-
Up-pot several times: always increase depth as the palm develops.
-
Harden off: gradually acclimate to outdoor sun and wind.
-
Plant outside: only after warm nights and in very well-drained soil.
Before You Begin: Reality Check
-
Seed-grown palms are unique. They won’t look exactly like the fruit variety you ate.
-
Date palms are dioecious: male and female flowers grow on separate trees. For fruit, you’ll eventually need one of each.
-
Climate matters: Date palms love hot, dry summers and mild winters. Young palms can be damaged or killed by frost.
-
If your winters fall below –5°C, plan to overwinter your palm in a pot or provide strong winter protection.
Materials You’ll Need
-
Seeds from ripe store-bought dates (Medjool, Deglet Noor, etc.)
-
Warm water
-
Optional: 3% hydrogen peroxide (for cleaning seeds), nail file (for gentle scarification)
-
Tall pots or treepots (15–40+ cm deep)
-
A gritty, draining soil mix:
40% coarse sand + 30% perlite + 30% coco coir/peat -
Clear zipper bag or humidity dome
-
Seed heat mat (highly recommended)
-
Palm fertilizer with magnesium and micronutrients
Step 1 — Select, Clean, and Activate the Seeds
✅ Choose viable seeds
Avoid seeds that are cracked or crushed. Even dried dates usually contain viable seeds.
✅ Clean thoroughly
Rinse away all fruit residue—it encourages mold.
✅ Optional sanitation
Soak seeds in 3% hydrogen peroxide for 10 minutes, then rinse.
✅ Long warm soak
Place seeds in 35–40°C water for 24–48 hours.
Refresh the water once during the soak.
✅ Optional scarification
Lightly scuff one tip of each seed with a nail file to dull the glossy surface. Don’t cut deeply—just break the outer shine to speed water absorption.
Step 2 — The Fastest Way to Sprout Date Seeds
You can use either method:
1. Baggie + Damp Paper Towel Method
-
Wrap seeds in a barely damp paper towel.
-
Place inside a zip bag, but leave one corner open for airflow.
-
Keep at 28–32°C continuously.
-
Check every 2–3 days for root emergence.
2. Vermiculite Cup Method
-
Fill a cup with moist (not wet) vermiculite.
-
Bury seeds 1–2 cm deep.
-
Maintain steady warmth (heat mat ideal).
✅ When to pot
Once the root reaches 1–3 cm, transfer the seed to a pot.
Don’t wait longer—fragile roots can snap easily.
Step 3 — Use Deep Pots and a Gritty Mix
Date palms send down a strong taproot before producing leaves, so depth matters more than width.
Best starting pot: 15–25 cm deep
Later upgrades: 30–40 cm, then larger.
Soil mix
-
40% coarse sand
-
30% perlite
-
30% coco coir or peat
The mix should feel airy, gritty, and fast-draining.
Planting
-
Lay the seed on its side, root pointing downward.
-
Cover with 2–3 cm of soil.
-
Water once thoroughly, then let excess drain.
Pro tip: Fabric pots help prevent root circling and improve drainage.
Step 4 — Care for Early Seedlings
✅ Heat
Keep soil temperatures between 26–32°C until several leaves appear.
✅ Light
-
First leaf: bright, indirect light
-
After that: gradually increase to several hours of direct sun
New leaves scorch easily—go slowly.
✅ Watering
-
Let the top 2–3 cm of soil dry out.
-
Water deeply, then let it drain.
-
Never leave water sitting in the saucer.
✅ Feeding
After the second leaf forms, feed lightly every 2–3 weeks with a palm fertilizer containing magnesium and micronutrients.
Signs to Watch
-
Yellow stripes → Magnesium deficiency (add small monthly dose of Epsom salts).
-
Pale leaves with green veins → Iron deficiency (apply chelated iron).
-
Brown tips → Salt or drought stress (flush the soil).
Step 5 — Up-Potting the Right Way
✅ When to repot
-
Roots circling at the bottom
-
Slow growth
-
Soil drying too fast
Don’t jump to a huge pot—move up one size at a time.
✅ Critical rules
-
Never bury the crown.
-
Keep the inner spear safe—damaging it can kill the palm.
-
Resume deep-but-infrequent watering after repotting.
Step 6 — Harden Off Before Outdoor Life
Over 10–14 days, gradually increase:
-
Sun exposure
-
Wind exposure
-
Outdoor temperature variation
Start only when night temps stay above 12–15°C.
Step 7 — Planting Outdoors
✅ Best timing
Late spring to early summer, once soil is warm (around 18°C).
✅ Perfect location
-
Full sun
-
Wind protection
-
A south-facing wall or heat-reflective area
-
Zero winter shade if possible
✅ Soil prep
-
Build a raised mound for drainage
-
Mix native soil with sand, grit, and perlite to create a sandy loam
✅ Planting
-
Dig a hole just wider than the rootball
-
Set the palm at the same depth as in its pot
-
Water once deeply
-
Mulch lightly (but keep mulch away from the trunk)
Step 8 — First Two Years of Care
-
Water: Deeply once weekly in hot weather, less during cool spells.
-
Feed: Palm fertilizer 2–3 times during the growing season.
-
Weeds: Keep the base mulched and clean.
-
Monitor: Look for spear rot, nutrient deficiencies, or pests.
Winter Protection
✅ For mild climates
-
Keep crown dry
-
Light frost cloth during cold snaps
✅ For cold climates
-
Wrap trunk and crown in breathable frost fleece
-
Add dry leaves or straw inside the wrap
-
Use deep mulch to insulate the root zone
-
If very cold: Bring palm indoors to a cool, bright 5–12°C space
-
Water sparingly through winter
Pollination & Fruiting
-
Seed-grown palms take 7–10+ years to flower.
-
You’ll only know male vs female once flowering begins.
-
Hand pollination ensures better fruiting if you have both sexes.
Troubleshooting
-
No germination after weeks: refresh medium, apply warmth, resoak briefly.
-
Mold: rinse, dip in hydrogen peroxide, use fresher medium.
-
Spear pull (rot): flush crown with 3% hydrogen peroxide; keep warm and dry.
-
Yellow leaves: fix Mg or Fe deficiencies.
-
Brown tips: flush salts, improve watering schedule.
Pro Tips That Make a BIG Difference
-
Warmth speeds germination dramatically.
-
Deep pots always outperform wide pots.
-
Avoid hard tap water—rotate with rainwater if possible.
-
Never bury the crown.
-
Harden off slowly before full sun exposure.
-
Build microclimates (south wall, gravel mulch).
-
Start multiple seeds to increase chances of getting both sexes.
Typical Timeline
-
Week 0: Clean + soak + pre-sprout
-
Weeks 2–8: Root emerges
-
Month 2–3: First leaf
-
Month 4–6: Up-pot
-
Late spring–summer: Harden off and transplant
-
Years 2–3: Establishment
-
Year 7–10+: Flowering and potential fruiting
News in the same category


Artery-Cleaning Foods: The One Meal Doctors Won’t Tell You About

The body will show 5 symptoms to remind you to eat less salt

5 foods that heal your body and STARVE cancer—eat these now!

Reverse diabetes and insulin resistance fast—4 hacks doctors don’t tell you!

This is Why You Always Wake Up in the MIDDLE of the Night (and how to make it STOP)

They were wrong about fasting — here’s what 30 hours without food really does to your body
The Incredible Benefits of Common Comfrey: Uses, Remedies, and Precautions

14 Reasons to Drink Lemon Water First Thing in the Morning
The #1 Food for Detoxifying and Supporting Kidney Health
Dark Chocolate and Tea Found to Significantly Lower Blood Pressure
Why This Doctor Refuses to Prescribe Statins for High Cholesterol

Top 5 Foods to Avoid if You Have High Blood Pressure

How bathing too often can affect your health

Did you know that if you get spots on your hands it means you have

This starves colon cancer cells — and strengthens your body’s natural defenses

7 COLLAGEN-boosting foods to ERASE joint pain & inflammation FAST!

The Human Brain Isn’t Built for Late Nights, Experts Warn

Harvard Doctor Reveals Foods You Should Avoid to Prevent Inflammation
News Post

47-Year-Old Man Dies from Liver Failure: “Two Types of Pain, Two Types of Itching” Warn of Serious Liver Disease
Don’t Throw Away Your Empty Milk Powder Cans – Turn Them Into Useful Household Items

If Cancer Cells Are Developing in the Body, These 3 Nighttime Symptoms May Appear

Can you spot the hidden dog? Only people with eagle eyesight can!

Can you spot the book, egg, cup, and pillow?
Neem: An Ancient Plant With Potential Health Benefits – What Science Says

Doctors reveal that green broccoli causes...see more

Artery-Cleaning Foods: The One Meal Doctors Won’t Tell You About

The body will show 5 symptoms to remind you to eat less salt

5 foods that heal your body and STARVE cancer—eat these now!

Reverse diabetes and insulin resistance fast—4 hacks doctors don’t tell you!

This is Why You Always Wake Up in the MIDDLE of the Night (and how to make it STOP)

They were wrong about fasting — here’s what 30 hours without food really does to your body
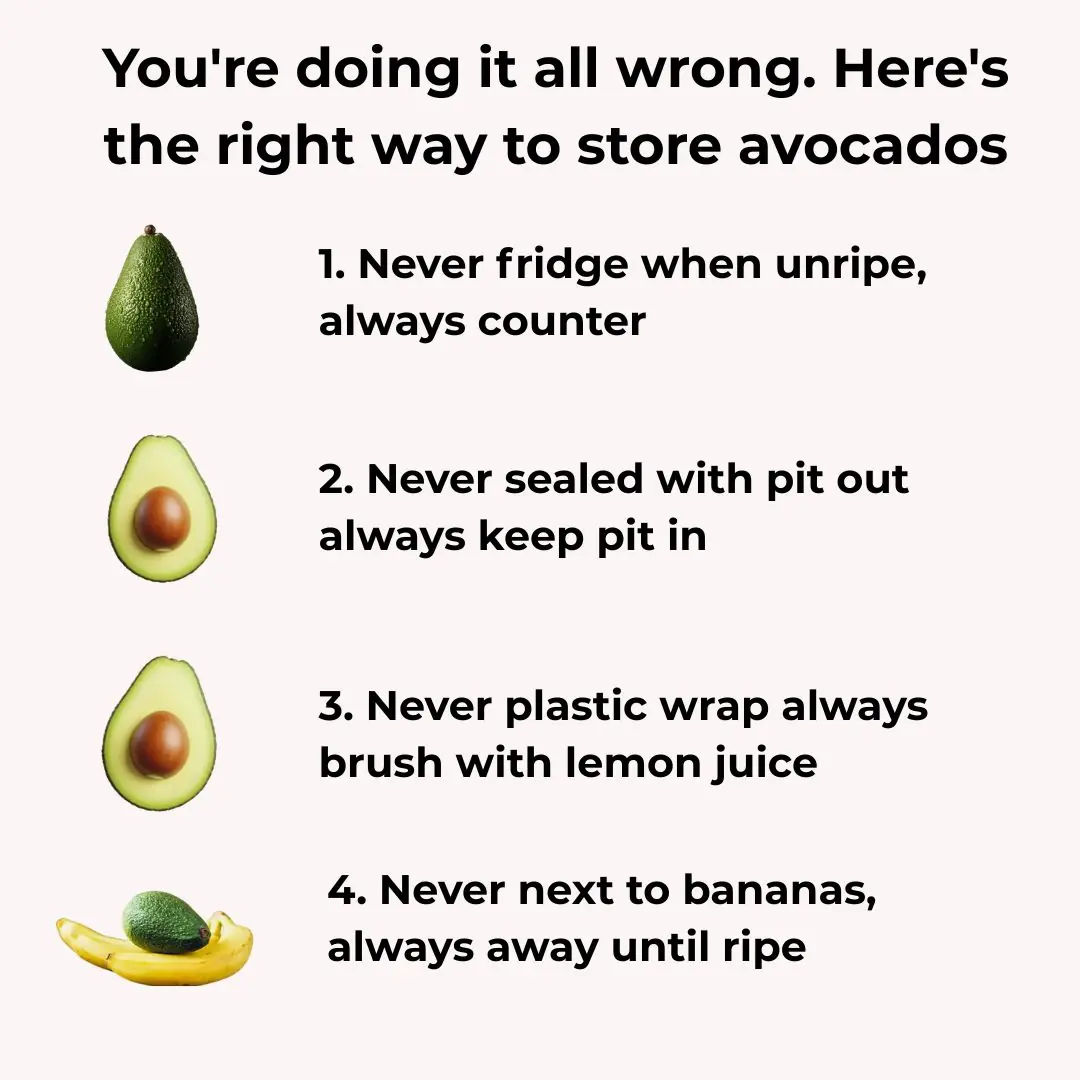
You're doing it all wrong. Here’s the right way to store avocados

8 reasons why adding baking soda to your toilet tank is a must-do trick
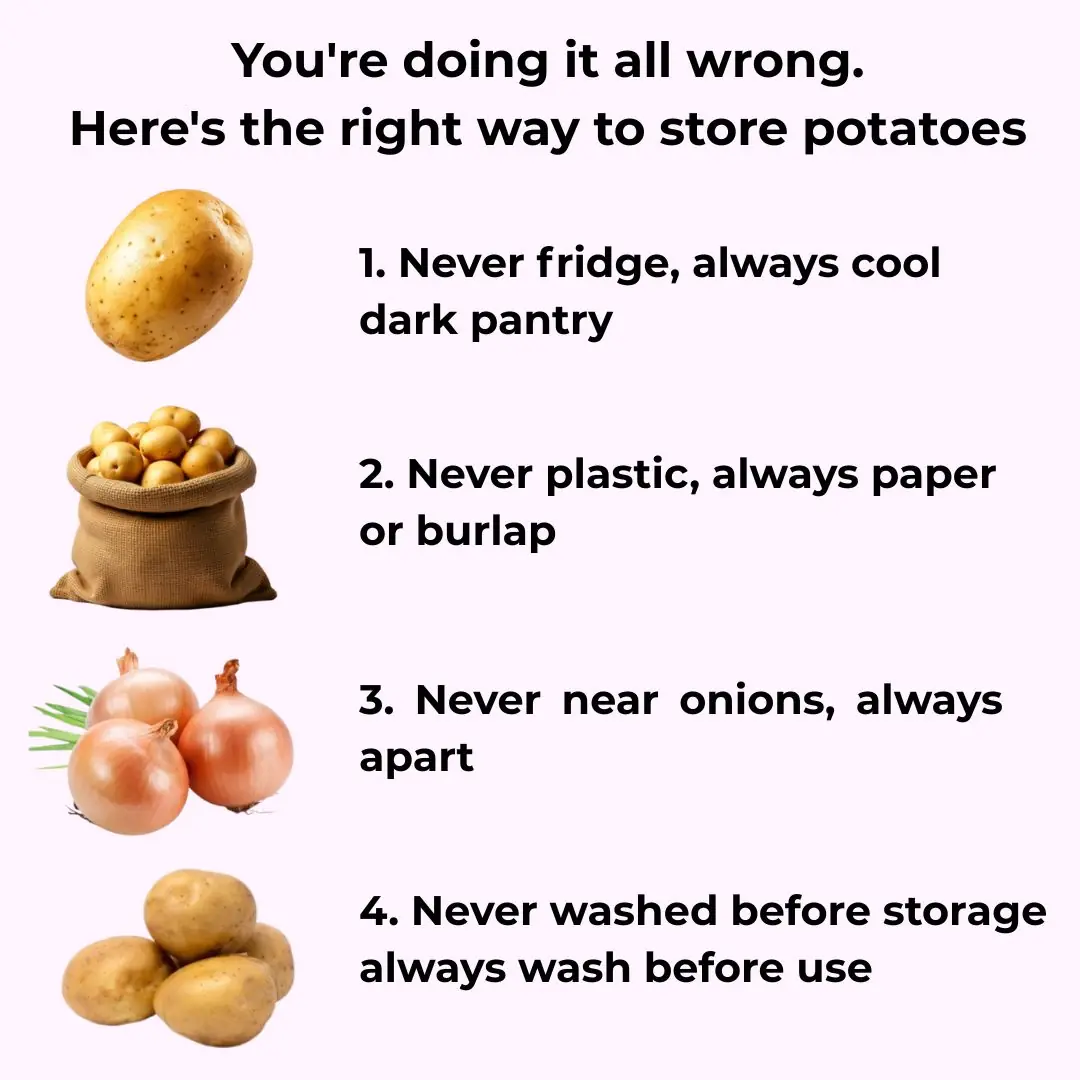
You're doing it all wrong. Here’s the right way to store potatoes
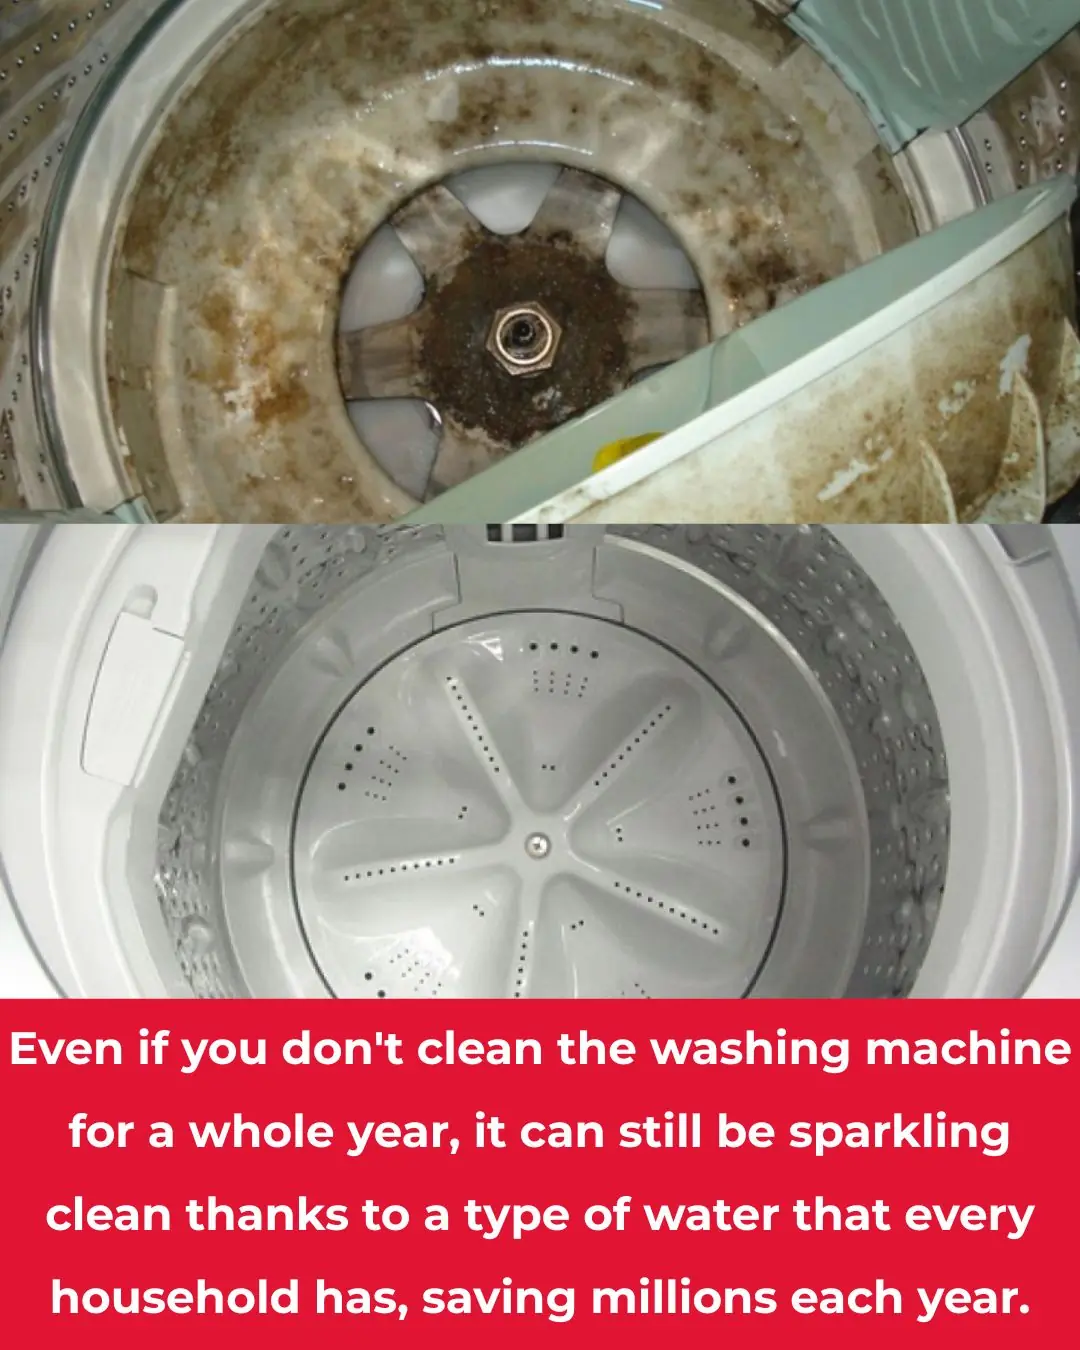
Washing machine stays clean all year without scrubbing thanks to a common household liquid, saving millions every year 👇👇
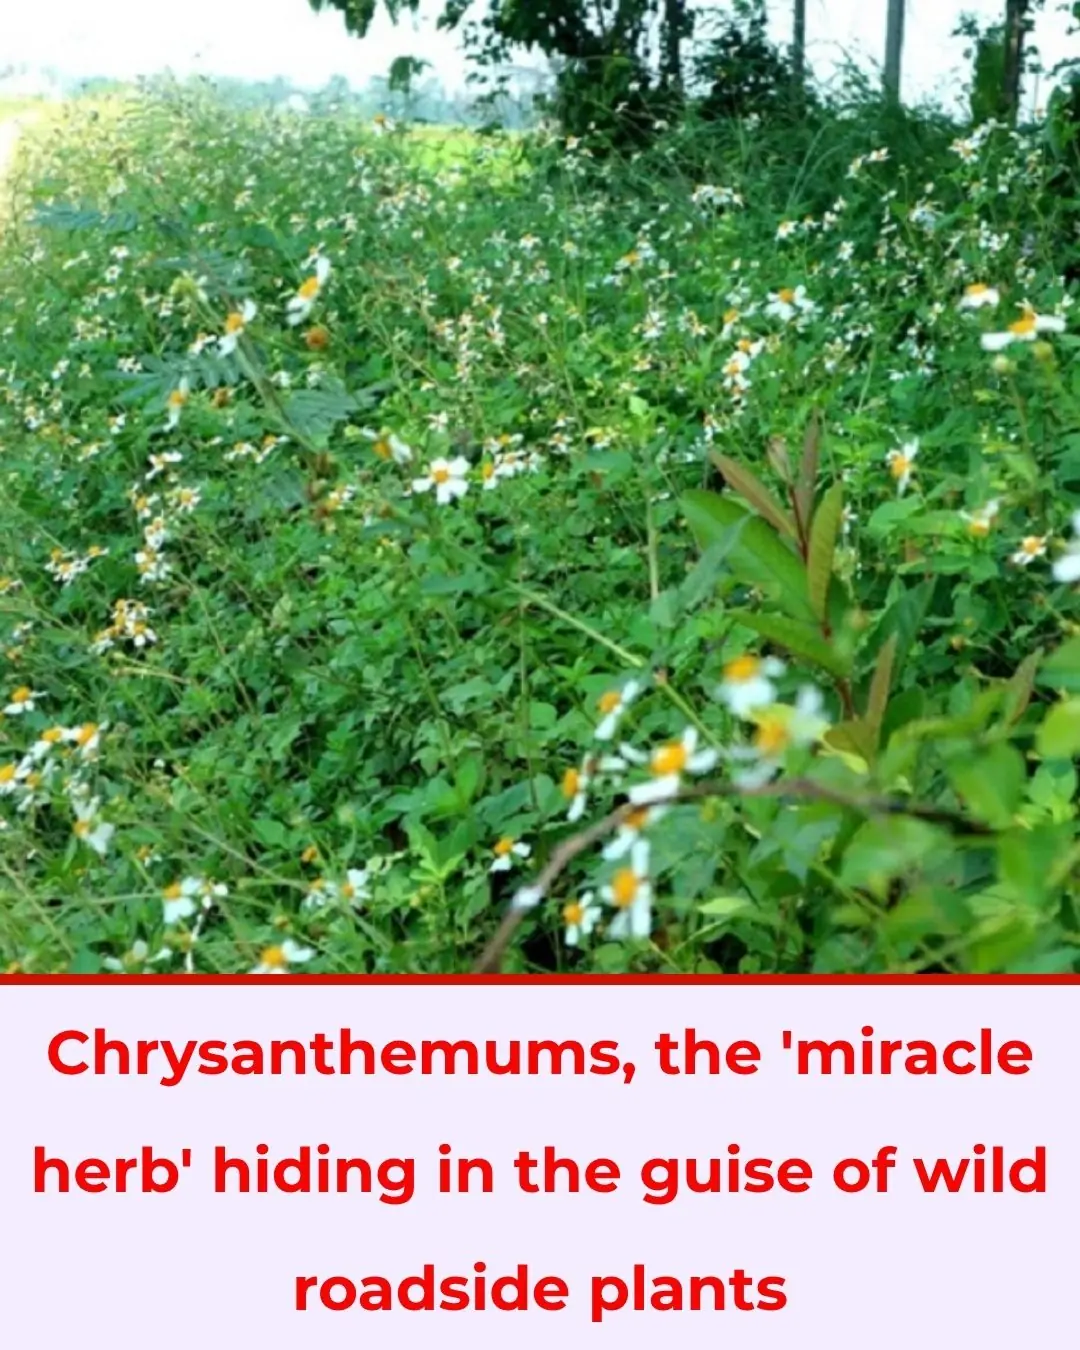
Aster flowers, the 'miracle cure' hidden in roadside wild plants

A miracle will happen when you place a handful of pepper under your bed, too bad I just found out 👇👇👇
