
🧼 Here’s My Easy Way to Clean Oven Racks: Just One Bag & a Natural Soak

Burnt-on grease.
Caramelized sauce.
Cheese baked so hard it could survive an apocalypse.
After months of roasting, baking, and bubbling casseroles, your oven racks can look hopeless — like they’ll never be shiny again.
But before you reach for harsh chemical sprays, industrial-strength cleaners, or hours of backbreaking scrubbing…
there’s a gentler way.
A method that uses one plastic bag and a natural soak to dissolve months of grime — without fumes, frustration, or elbow grease.
No scraping.
No choking on chemical scents.
No damaging the metal.
Just place, seal, wait — and wipe clean.
This is the method I use every few months to keep my oven racks sparkling, without ever damaging the finish or my lungs.
Because smart cleaning isn’t about force.
It’s about letting time do the heavy lifting. ⏳✨
🛠️ What You’ll Need
✔️ Dirty oven rack(s)
Let them cool completely before removing.
✔️ Heavy-duty garbage bag or compactor bag
Thick enough to hold liquid without leaking.
✔️ ½ cup baking soda
A gentle abrasive + odor neutralizer.
✔️ ¼ cup white vinegar or lemon juice
Helps break down carbonized grease naturally.
✔️ 1–2 tbsp dish soap
Cuts through oils and sticky residue.
✔️ Rubber gloves
Protects your hands during rinsing.
✔️ Optional:
-
Old towel/cardboard (to protect the floor)
-
Essential oils (tea tree, lemon, orange) for added freshness
-
Zip ties for extra-sealed bags
🍳 Step-by-Step: How to Clean Oven Racks Using the Easy Bag Method
Step 1: Mix the Cleaning Solution
In a bowl or large measuring cup, combine:
-
½ cup baking soda
-
¼ cup white vinegar or fresh lemon juice
-
1–2 tbsp dish soap
It will fizz for a few seconds — that’s normal and helps activate the mix.
You’re aiming for a thick, spreadable slurry — not too watery, not too paste-like.
💡 Pro Tip:
Add 3–5 drops of orange, eucalyptus, or tea tree essential oil.
This boosts cleaning power and leaves the racks smelling refreshed.
Step 2: Add Rack to the Bag
-
Lay the garbage bag flat on a protected surface.
-
Slide the oven rack inside.
-
Pour the solution directly on the rack — make sure the mixture coats the metal evenly.
-
Push out extra air and seal tightly (a twist tie or knot works).
✔️ Important:
Make sure the bag has no holes.
A leaking mixture is a nightmare to clean up.
Step 3: Let It Sit Overnight
For best results:
-
Leave the sealed bag 8–12 hours
-
Keep it in a safe, undisturbed spot
-
For extra-stubborn buildup, place it somewhere slightly warm
As it soaks, the mixture:
-
Loosens carbonized grease
-
Dissolves stuck-on cheese and sauces
-
Softens baked layers so they wipe away effortlessly
No scrubbing. No force.
Just chemistry + patience.
Step 4: Open, Wipe, Rinse
Open the bag slowly (with gloves — it gets messy).
Remove the rack and gently wipe with:
-
A sponge
-
A dishcloth
-
A soft, non-scratch brush
You’ll see chunks of grime slide right off.
Rinse thoroughly with warm water.
🔥 Extra tough spots?
Sprinkle a bit more baking soda directly on the rack and scrub lightly.
It’ll come right off.
Step 5: Dry & Reinstall
-
Pat dry with a cloth
-
Let air-dry fully
-
You can heat the oven at 200°F (93°C) for 10 minutes to evaporate moisture
Just like that — your racks look brand new.
Shiny. Smooth. Clean.
All without breaking a sweat.
✅ Why This Method Works (and Why It’s Safe)
✔️ No toxic fumes
Uses kitchen-safe ingredients — no ammonia, no bleach.
✔️ Protects the metal finish
Baking soda is gentle and won’t scratch enamel or chrome.
✔️ Effort-free
Soaking does the work while you sleep.
✔️ Eco-friendly
The ingredients are biodegradable and safe to rinse down the drain.
✔️ Safe for pets and kids
As long as the bag is sealed and out of reach.
🚫 Avoid This Common Cleaning Myth
❌ “Just seal the rack in a bag with ammonia overnight.”
This method circulates highly toxic fumes.
Inhaling ammonia vapors — even accidentally — can cause:
-
Burning lungs
-
Headaches
-
Severe respiratory distress
Never use ammonia in sealed spaces.
❌ More Myths Debunked
| Myth | Reality |
|---|---|
| “DIY cleaners are always safe.” | Some combos create toxic gas — never mix vinegar with bleach. |
| “Plastic bags accelerate cleaning.” | Only when sealed properly with safe ingredients. |
| “If it works online, it’s fine.” | Many viral hacks are unsafe or damaging long-term. |
| “Steel wool is the best scrubber.” | It scratches and permanently dulls rack coating. |
✨ How to Keep Your Racks Cleaner, Longer
✔️ Line the oven bottom (loosely) with foil
Catches drips — just don’t block vents.
✔️ Clean spills promptly
A quick wipe today prevents carbonized buildup later.
✔️ Avoid using the self-clean cycle constantly
Self-clean cycles reach 900°F and weaken oven parts over time.
✔️ Clean your racks every 3–6 months
Prevents layers from forming.
✔️ Use parchment paper on trays
Reduces drips and makes cleanup easy.
Final Thoughts
You don’t need magic, muscle, or harsh chemicals to restore your oven racks.
You just need a smart method that works quietly and effectively while you rest.
So next time you’re staring at burnt-on grease…
Pause.
Take a breath.
Grab a bag.
Mix the paste.
Seal it up — and walk away.
Because the best kind of cleaning isn’t frantic.
It’s thoughtful.
Gentle.
And almost effortless.
When the work happens overnight, in stillness…
you wake up to a little victory — and a much cleaner kitchen.
News in the same category


The shower head is easily clogged after long use. This way, the dirt will drain away by itself and replace it with a new one

Boiling shrimp with a handful of these leaves makes the shrimp bright red, sweet meat, everyone praises it.

New Towels Feeling Sticky and Smelly? Soak Them in This to Make Them Clean

🍌 5 High-Fiber Foods That Naturally Support Digestion & Relieve Constipation

Crush a handful of these leaves and place them in the room.
Soaking vegetables in salt water is not as good as you think, if you want them clean, do it this way
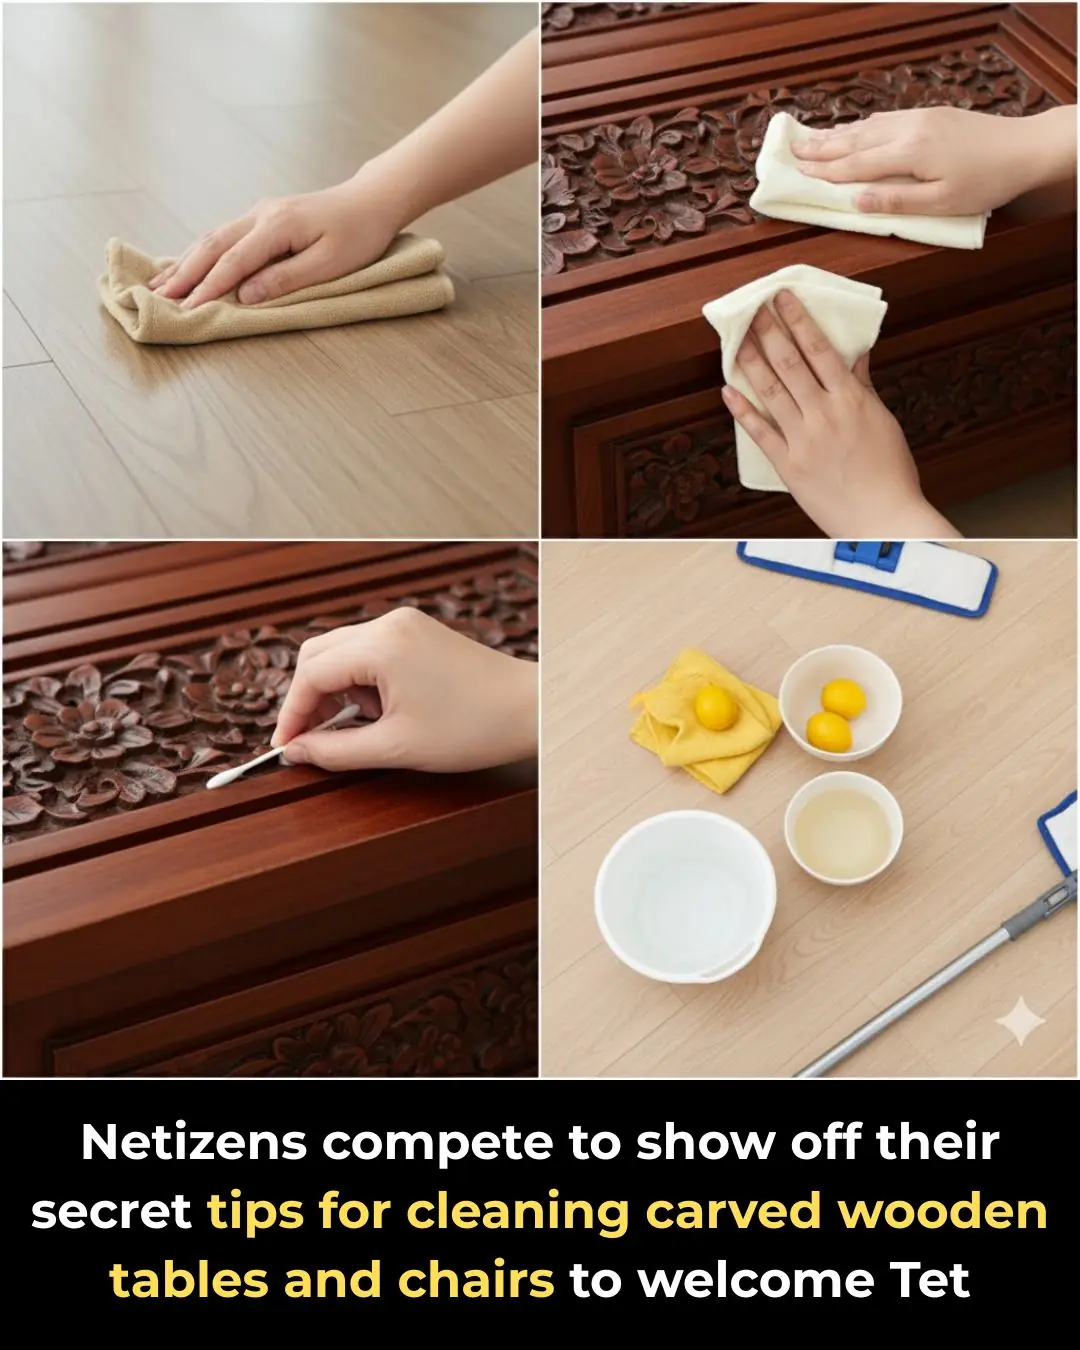
Netizens compete to show off their secret tips for cleaning carved wooden tables and chairs to welcome Tet

Don't burn peach trees anymore: This is the way to help peach blossoms bloom, sprout, and still be brilliant after Tet

Add a drop of essential oil to an onion and no matter how many mosquitoes and insects it has, they will disappear

Shower Head Clogged After Long Use? Try This Method to Clean It Easily Without Spending Money

Why You Shouldn’t Wash Rice Inside the Electric Rice Cooker: A Common Mistake Many People Don’t Know

Add This Ingredient to Your Coffee: No More Yellow Teeth or Bad Breath

Don’t Eat Tofu Right Away After Buying It: Freezing It in the Fridge Has Amazing Benefits

Don’t Rush to Store Lemons in the Fridge — Do This Instead to Keep Them Fresh All Year Without Bitterness

Too Many Ripe Tomatoes? Try These 5 Preservation Methods to Enjoy Them All Year — Without Spending on Fresh Ones

The “Miracle” Termite Prevention Methods for Wooden Furniture

Don’t Clean a Dirty Rice Cooker with Plain Water: Use This Trick and It’ll Shine Like New in Just 5 Minutes

Insert Two Chopsticks into a Plastic Bottle: A Simple Life Hack Every Household Should Know
News Post

Kirsty Gallacher says brain tumour is 'growing very fast' in worrying health update

Strictly’s George Clarke supported after heartbreaking confession ahead of live show: ‘It’s hard’

Lola Petticrew was in ‘revolutionary’ drama Say Nothing before Trespasses – and it has an impressive Rotten Tomatoes score

The Lip Color You Pick Reveals What Kind of Woman You Are

EVERYTHING TOM FELTON HAS SAID ABOUT JK ROWLING CONTROVERSY AS HE RETURNS TO HARRY POTTER

Doctors reveal that eating guava causes...

Why Your Hard-Boiled Eggs Have That Weird Green Ring

Big Brother kicks out two stars in cutthroat move days before final
Don’t Toss That Tuna Can

Yeast & Coffee Erase All Wrinkles in 3 Minutes – Even at 70

KELLY BROOK ADMITS WHY SHE SPLIT UP FROM EX-FIANCÉ JASON STATHAM AFTER SEVEN-YEAR RELATIONSHIP

Glow Like Never Before: The Banana and Carrot Face Mask That Defies Aging 🌟

BBC Unveils Daytime Shake-Up with New Shows Fronted by Vernon Kay and Ronan Keating 📺

The shower head is easily clogged after long use. This way, the dirt will drain away by itself and replace it with a new one

🎭 Emmerdale 'Too Dark' Debate: Viewer Poll Reveals Audience is Sharply Divided

The shocking truth about vitamins and blood clots in your legs

BBC Orders Immediate Lockdown for Celebrity Race Across the World Contestants Due to Violent Guatemala Uprising

🔥 Gordon Ramsay Delivers "Brutal Swipe" at Weight-Loss Jab Users, Refusing to Alter Menus

MAFS UK fans spot telling clue Davide and Keye have split
