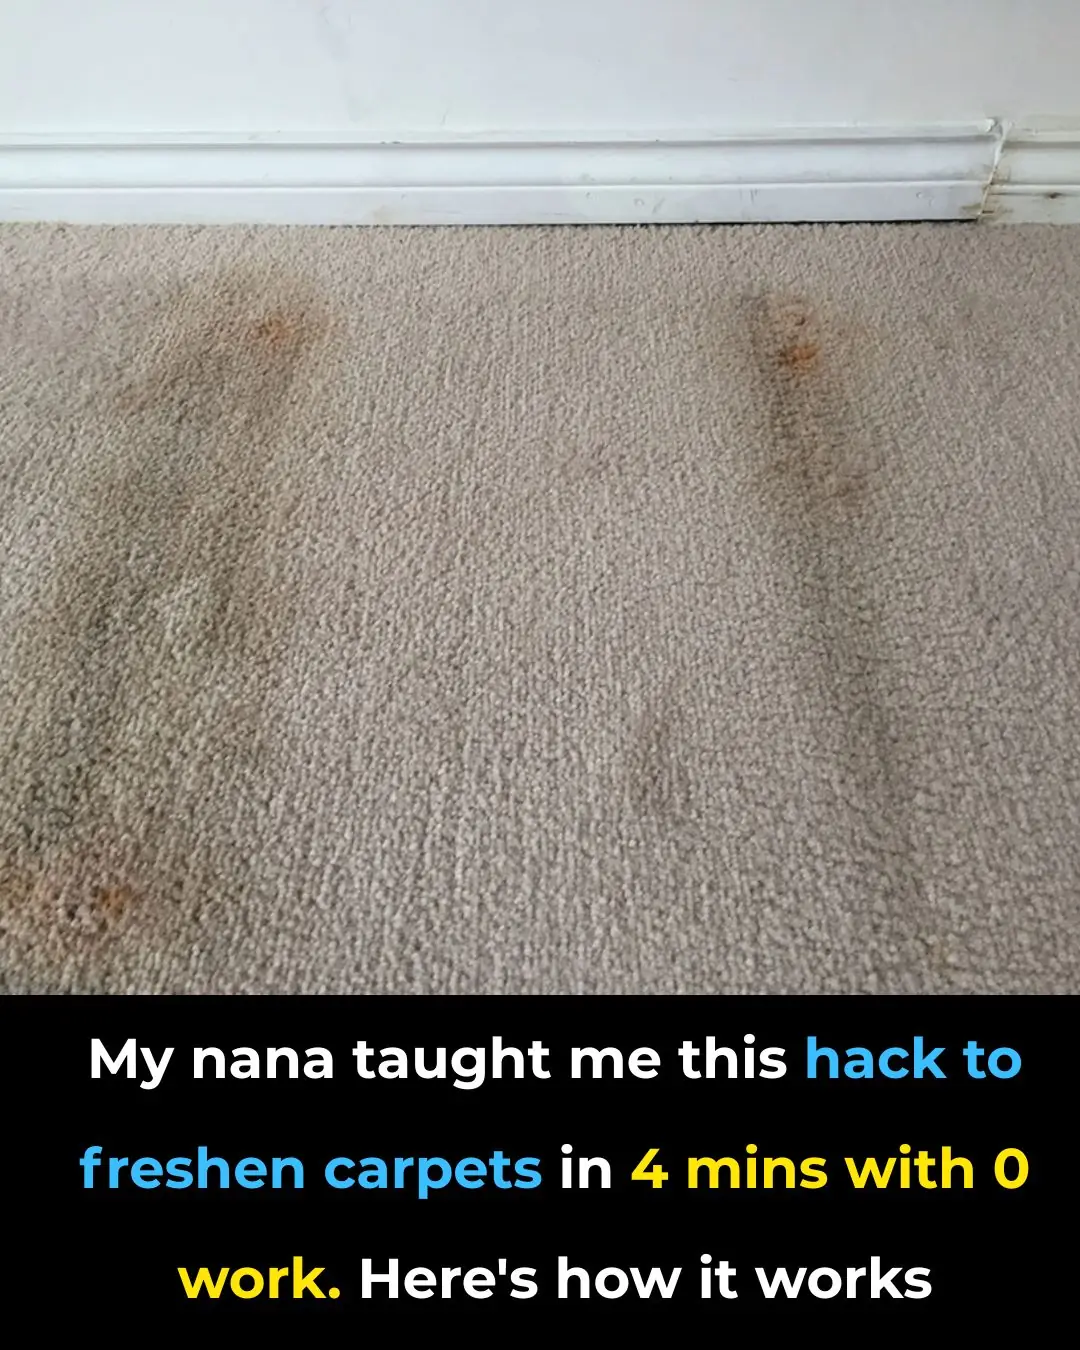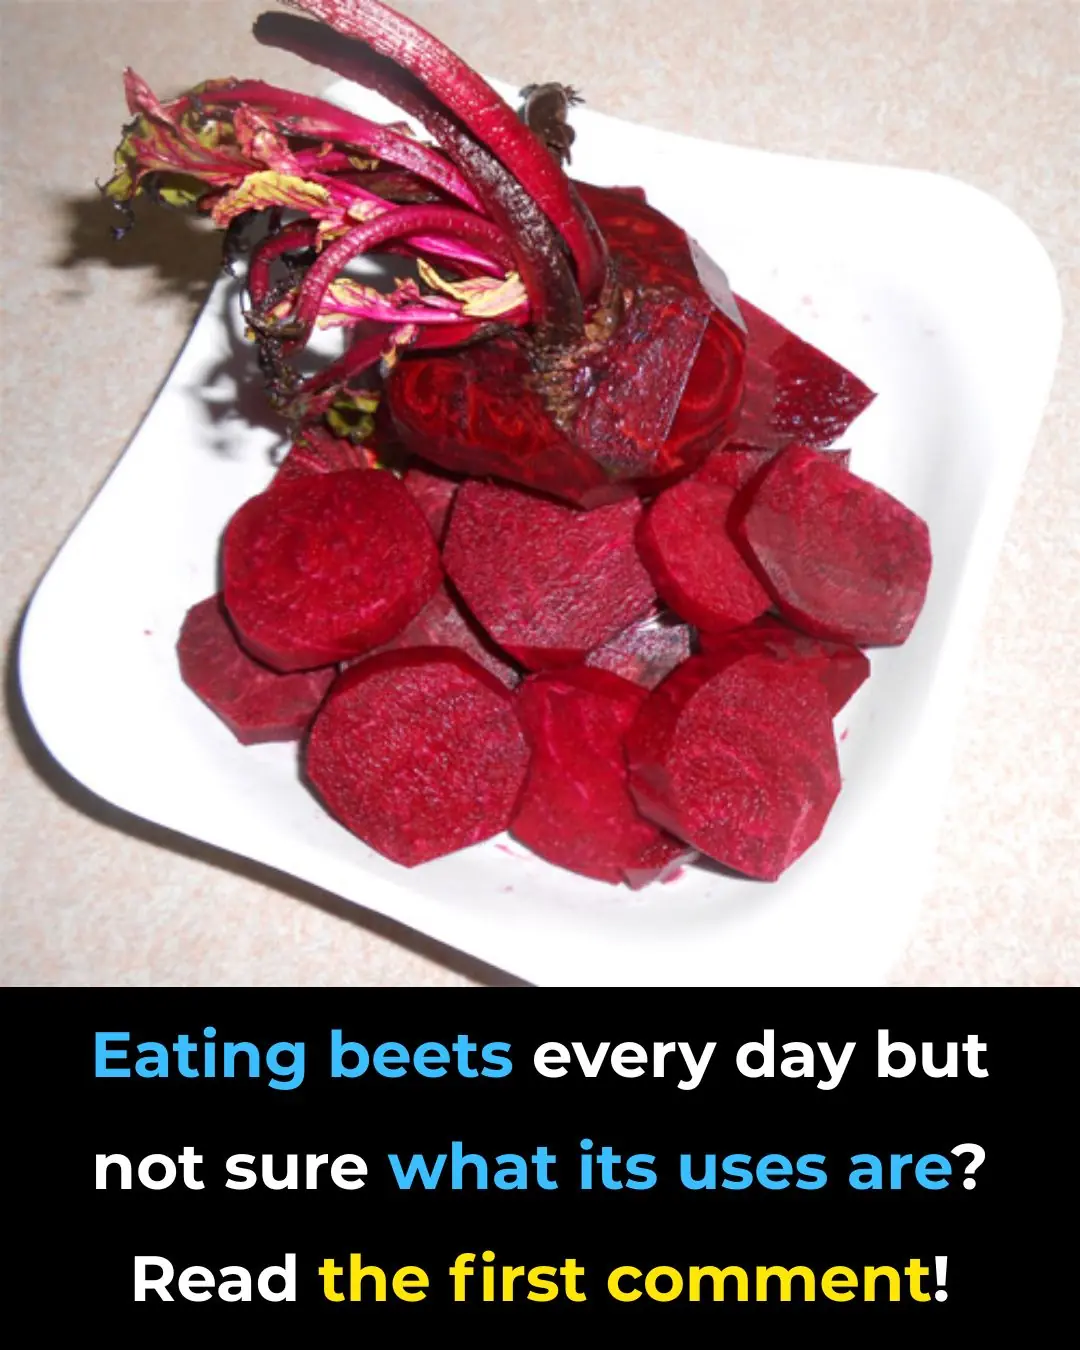
It’s time to SAVE YOUR LIVER by cutting out these 5 everyday vegetables that can silently cause serious harm
News 05/12/2025 15:50
Clematis is a beloved climbing plant, admired for its lush vines and showy flowers that can transform a garden fence, wall or trellis into a cascade of color. Yet many people struggle to get their clematis to thrive — ending up with sparse growth or few blooms. The secret lies in understanding how clematis truly likes to grow, and giving it the right support and care.
Clematis isn’t a “one-size-fits-all” plant. There are many species and cultivars — ranging from compact, small-flowered climbers to vigorous vines that can reach 2–3 m or more. For a small trellis or fence, it’s better to choose a compact variety; for larger trellises, vigorous growers can make a dramatic display.
When selecting a spot, give your clematis sun for its foliage and blooms, but shade or cool soil for its roots. A good guideline: roots in shade, top in sun. This helps the plant stay healthy even in hot weather. Gardener's Path+2GardenDesign.com+2
A clematis needs something to cling to. Use a trellis, wires, or a fence with narrow slats or thin supports (ideally no wider than ~2 cm / ¾ inch) so the vines can wrap around them. Wide boards or bare walls without structure aren’t ideal. Gardener's Path+1
In early growth phases or after planting, use soft ties — garden twine, cloth strips, or soft plant ties — to gently secure stems. Don’t tie too tightly; allow the vine room to grow and expand. Check and adjust ties as the plant grows. Creative Homemaking+1
Clematis likes moist, well-draining soil. Water regularly — typically once or twice per week, more often during hot, dry spells. Keep soil evenly moist but not waterlogged. Creative Homemaking+1
Mulch around the base of the plant (e.g. bark chips, straw, compost) to help retain moisture and keep roots cool. Gardener's Path+1
During the growing season, use a balanced slow-release fertilizer (or a balanced NPK fertilizer like 10-10-10) every 4–6 weeks to support robust foliage and abundant flowering. Creative Homemaking+1
One of the biggest mistakes many gardeners make is pruning clematis incorrectly. The pruning schedule and severity depend heavily on which “group” your clematis belongs to — based on its flowering cycle. rhs.org.uk+2thejoyofplants.co.uk+2
Group 1 — early-spring bloomers on old wood. These often don’t need pruning; just remove dead or damaged stems and prune lightly if shaping is needed, usually right after flowering. rhs.org.uk+1
Group 2 — large-flowered clematis, blooms in late spring/early summer, sometimes again later. Lightly prune in late winter/early spring to remove weak stems; after first flush of flowers you can trim again to encourage a second bloom cycle. rhs.org.uk+2thompson-morgan.com+2
Group 3 — late-summer/autumn bloomers on new growth. These need a hard prune in late winter: cut stems down to 15–30 cm (6–12 in) above soil to encourage fresh, vigorous growth. rhs.org.uk+1
If you’re not sure which group your clematis is, a safe rule: if it blooms before June, treat it as Group 1 (light pruning or none); if bloom is after early summer, prune like Group 3 in late winter. rhs.org.uk+1
Using a flimsy or sparse support: vines may fail to cling or grow unevenly.
Tying stems too tightly: restricts growth or scars stems.
Overwatering or water-logging soil: leads to root rot.
Using high-nitrogen fertilizer all season: may produce lush foliage at the expense of flowers.
Pruning at the wrong time or too aggressively: may kill buds and result in no flowers next year.
Plant a companion ground-cover or mulch at the base to keep roots cool and moist — clematis prefers “cool feet, sunny head.” Gardener's Path+1
In the first growing season after planting, pinch out the tips of new shoots occasionally — this encourages the vine to branch, giving you more stems that will flower later. Gardener's Path