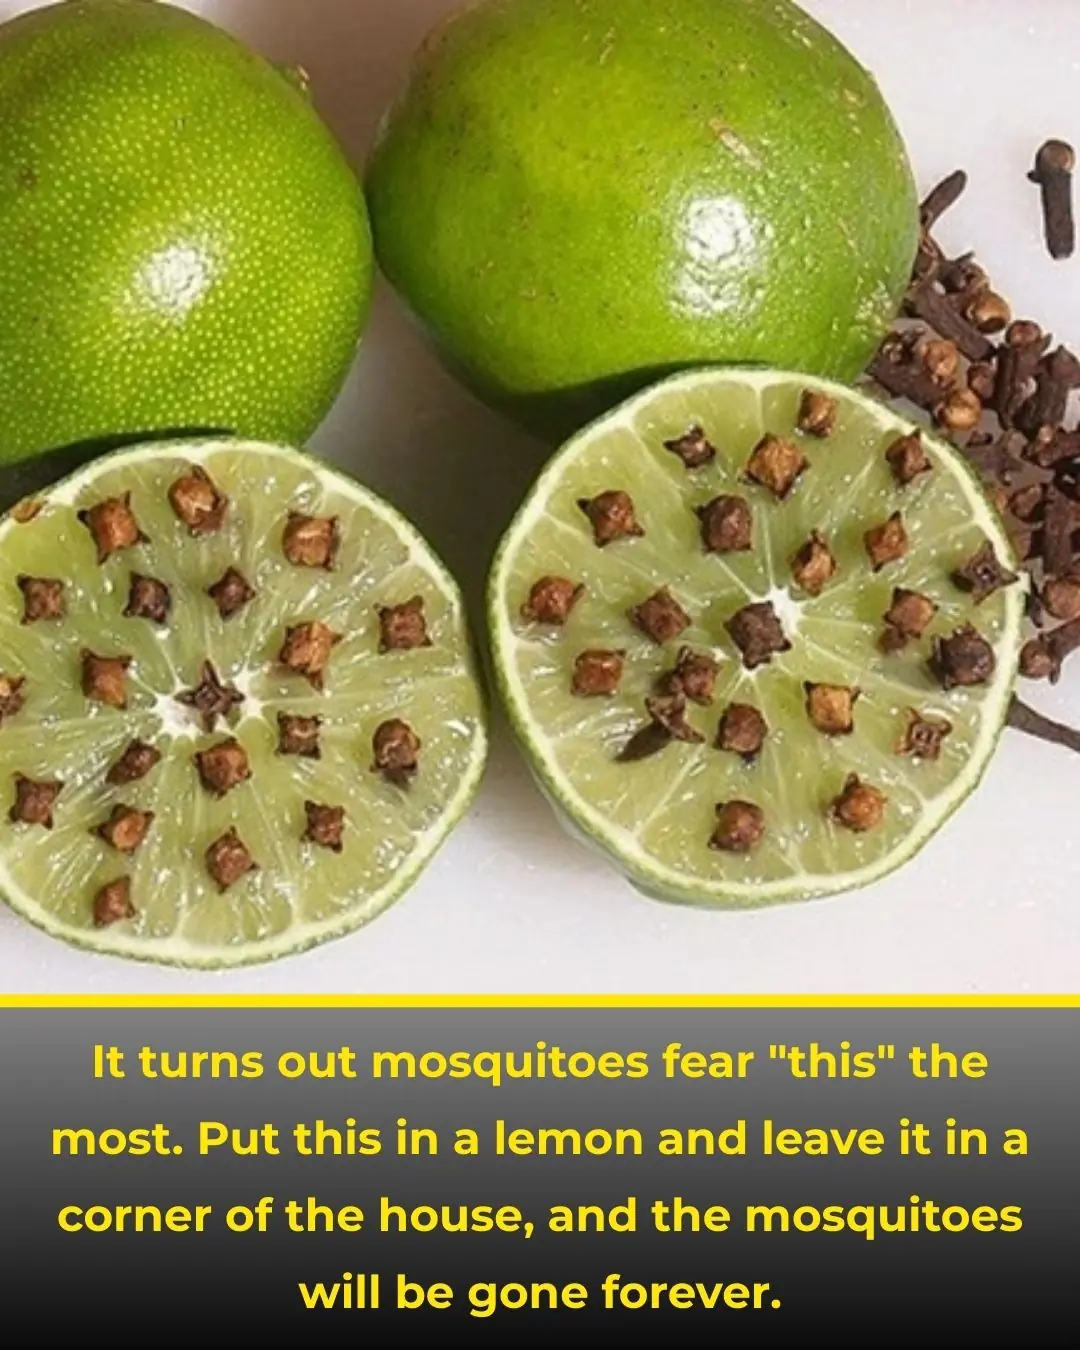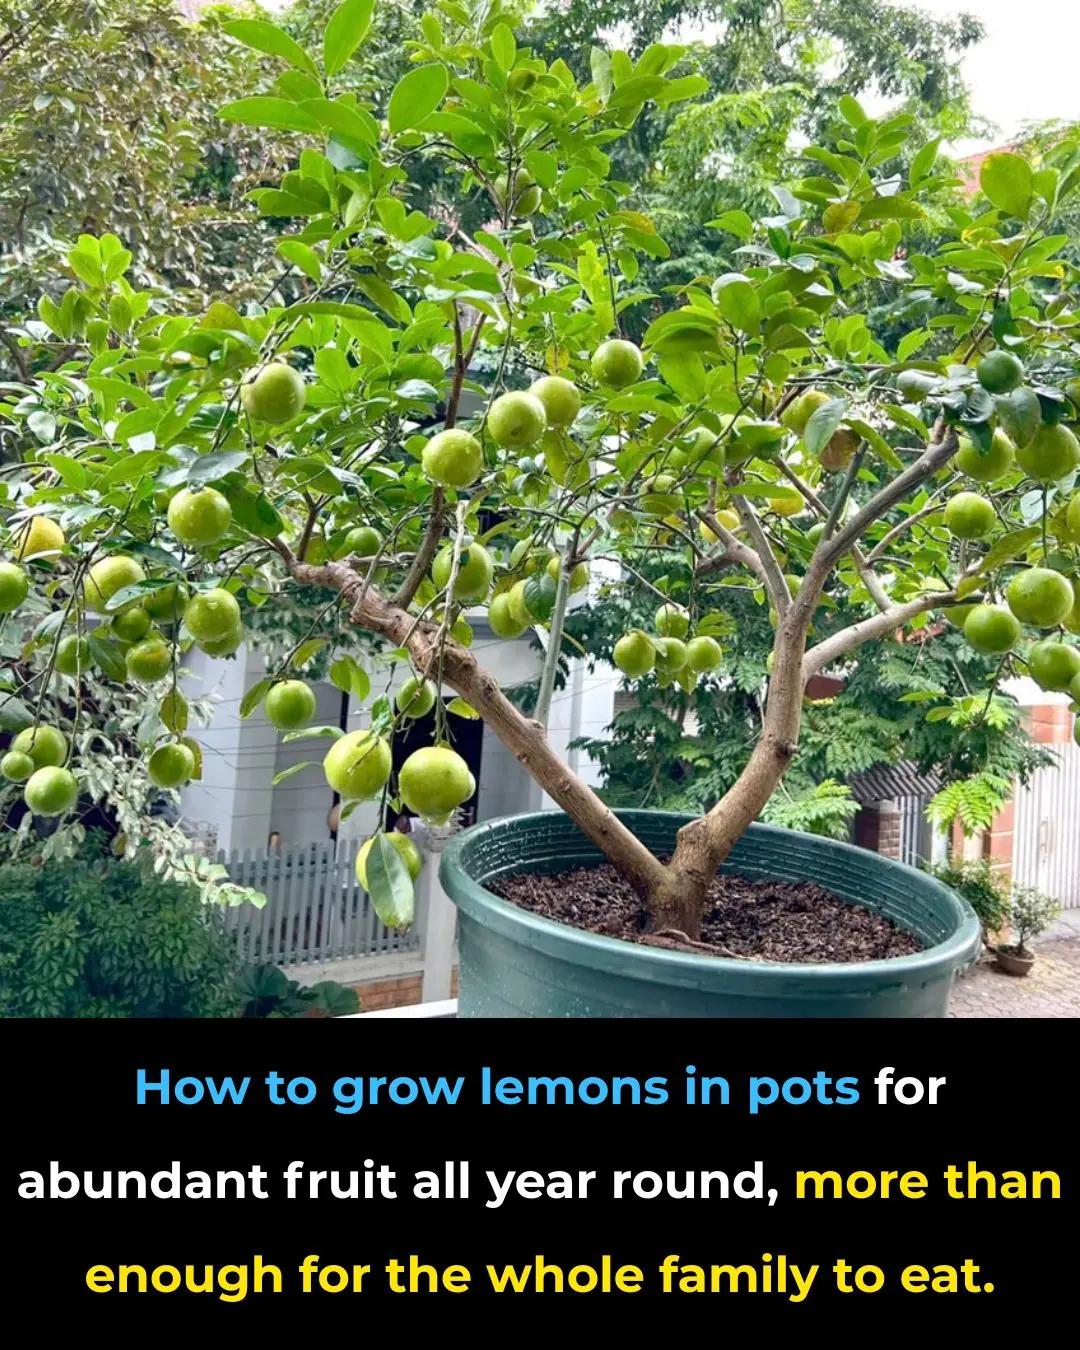
How to grow lemons in pots for abundant fruit all year round, more than enough for the whole family to eat
Tips 20/12/2025 16:47
Pork fat is a traditional ingredient in many kitchens — prized for the rich flavor it adds to stir-fried and sautéed dishes. Although modern cooking often favors vegetable oils, many cooks still prefer rendered pork fat (lard) for its distinctive aroma and culinary depth. However, frying pork fat isn’t always as simple as throwing it straight into a pan. If done incorrectly, the fat can develop an unpleasant smell, turn yellowish, or spoil quickly.
Here’s a step-by-step method to fry pork fat so that the rendered lard stays snowy white, incredibly fragrant, and easy to store for a long time.
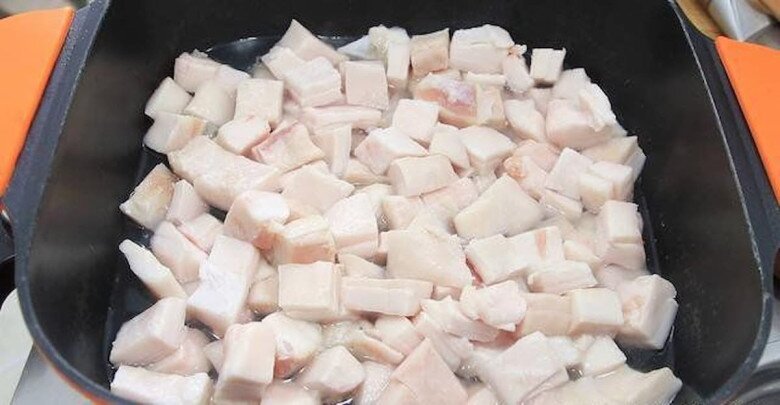
Instead of placing fresh pork fat directly into the hot pan, first blanch the fat in boiling water. After chopping the fat into small cubes or pieces, wash it thoroughly and briefly boil it in water. You’ll notice some foam and impurities rising to the surface — this is normal. Add a few slices of ginger during this step to help eliminate any raw pork smell. This initial blanching is key to ensuring the final rendered fat has a clean, fresh aroma and a lighter color.
Why this matters: Blanching removes impurities and helps prevent strong animal odors, which means the final lard will smell much better and have a purer white shade
Once your fat has been blanched and drained, transfer it to a frying pan. Instead of immediately heating the fat on high heat, add a small amount of water to the pan. Many home cooks worry this will cause splattering — but in practice, the water evaporates quickly as the fat renders. The presence of water helps slow the heating process, which prevents scorching and keeps the fat from turning yellow or burning.
Pro tip: Keep the flame on medium-low throughout. As the fat begins to melt and release its oil, gently stir with chopsticks or a spatula so it cooks evenly.
Once the water has mostly evaporated and the fat starts to sizzle, reduce the heat to low. Continue rendering the fat slowly until the remaining pieces (known as cracklings) shrink, turn golden brown, and become crispy. At this point, turn off the heat.
Why careful heat control matters: High temperatures cause the fat to oxidize and develop a deeper color or burnt flavor. Slow rendering preserves the light color and enhances fragrance.
Once the fat has fully rendered, strain it into a clean jar or container, separating the liquid fat from the cracklings. Before the fat solidifies, sprinkle a pinch of salt into it and stir gently. Salt acts as a natural preservative, helping prevent the lard from turning rancid.
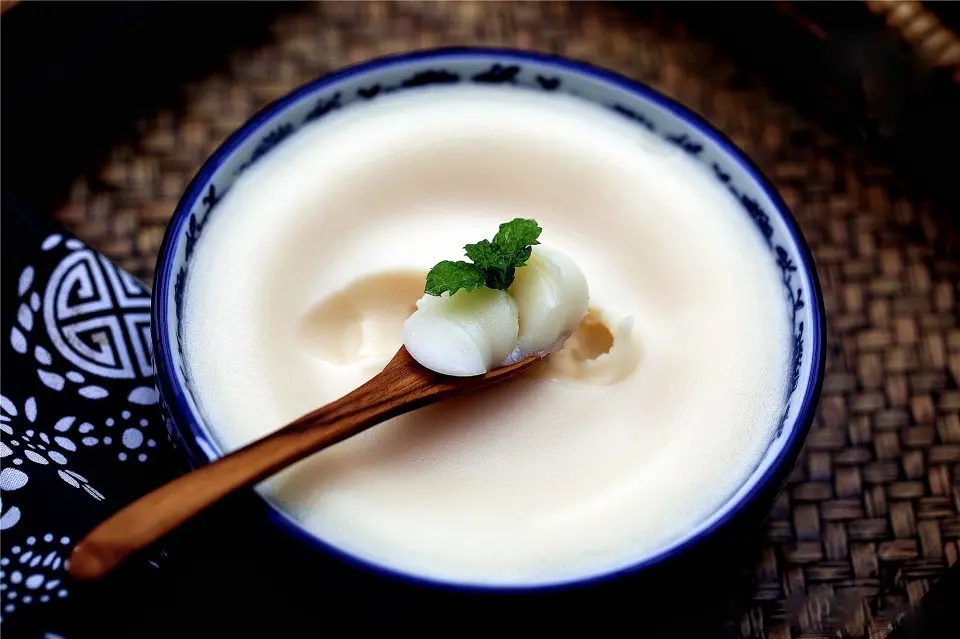
After cooling completely, seal the jar and store it in the refrigerator or a cool, dry place. Properly rendered pork fat should harden into a beautiful snow-white, creamy texture with a delightful, rich scent that enhances everything from stir-fried vegetables to traditional pastries.
The crispy tiny pieces left after rendering — known as cracklings — are flavorful in their own right. You can season them with spices and enjoy them as a crunchy snack, or add them to dishes for extra texture and taste.
✔ Choose fresh, high-quality pork fat. Fat from the back and around the loin produces cleaner, milder flavor.
✔ Be patient — slow and gentle heat yields the best fragrance and keeps the fat white.
✔ Don’t rush the process — longer rendering at moderate temperatures creates more neutral and stable lard.
✔ Store rendered lard in sterilized jars to maximize shelf life.