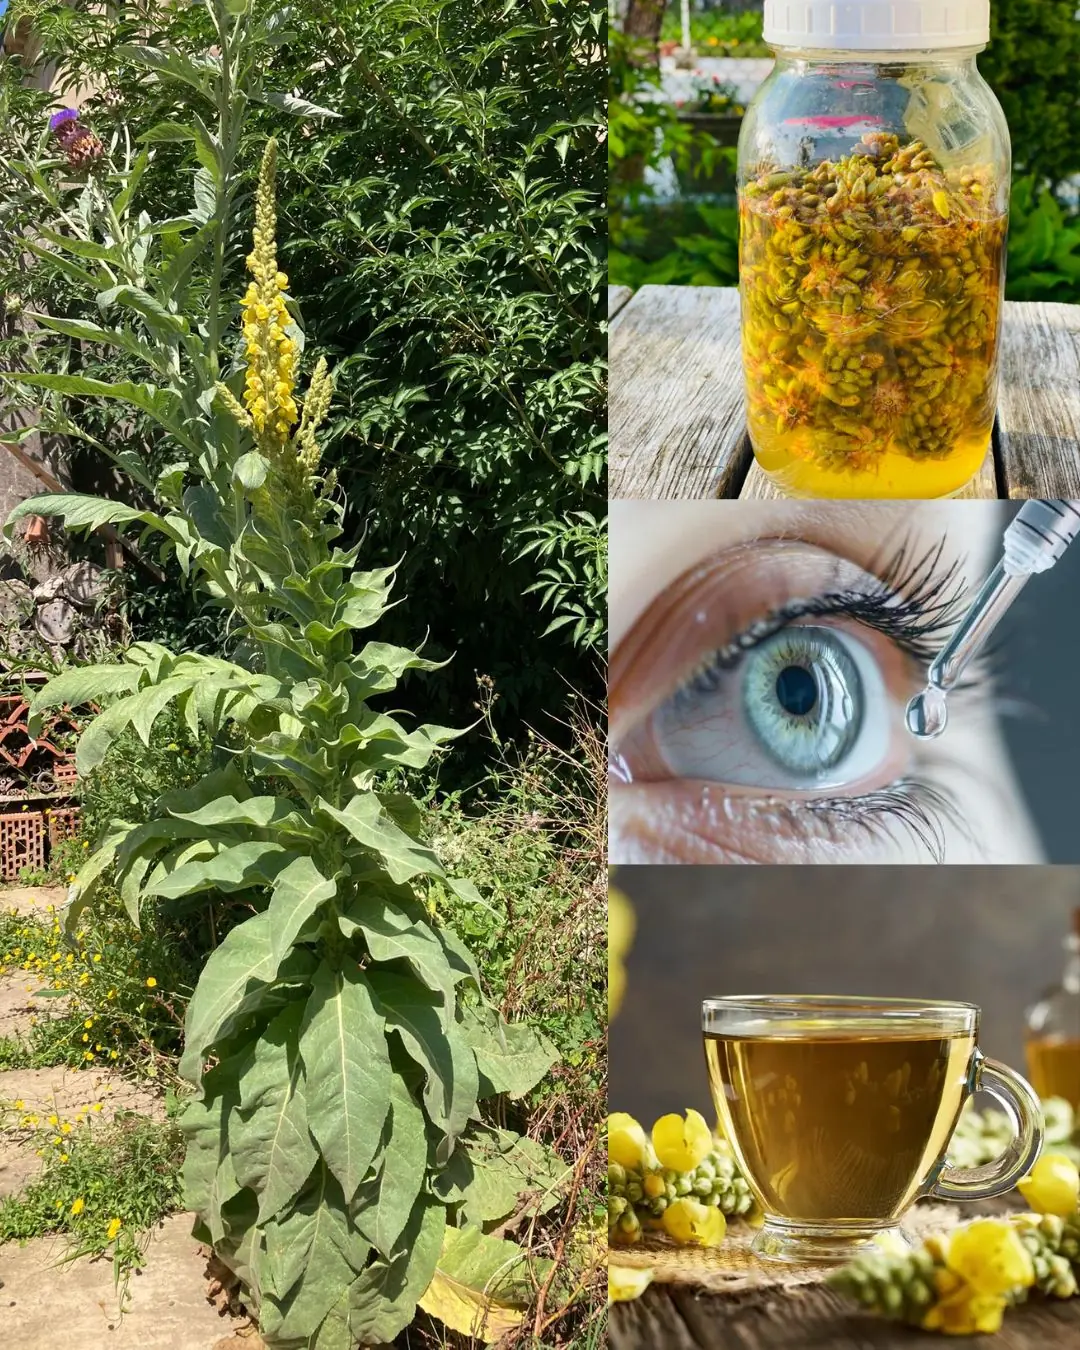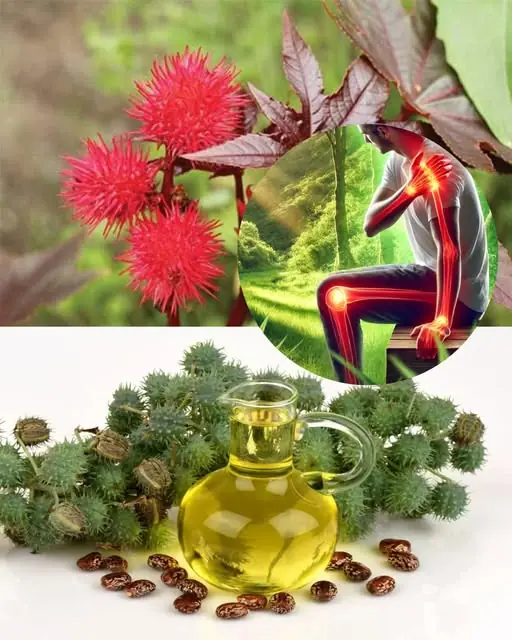
7 Benefits and Uses of Castor Oil
Garden Healthy 10/11/2025 23:26
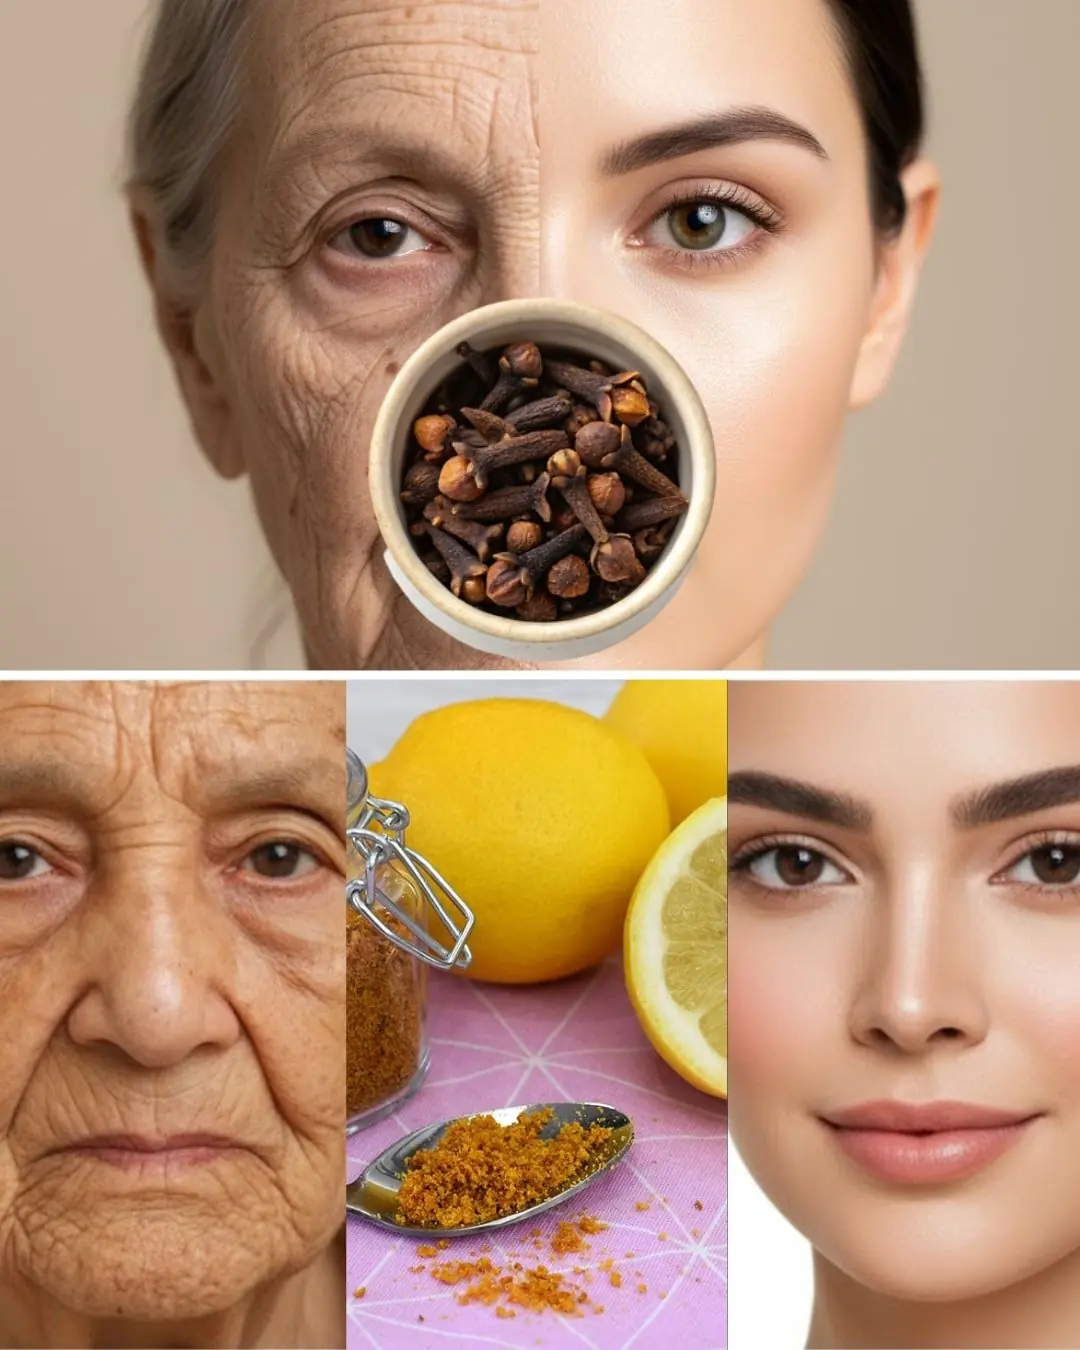
Easy Clove Cultivation: From Seed to Spice – Your Complete Home-Grown Guide
Growing cloves at home isn’t just about adding a fragrant spice to your kitchen—it’s about nurturing something truly special from seed to harvest. With patience and the right care, you can enjoy a steady supply of aromatic cloves straight from your own garden. Here’s an expanded, step-by-step guide to help you through every stage of clove cultivation:
∙ Start by choosing fresh, mature clove seeds from reliable sources or healthy trees.
∙ Inspect the seeds carefully—avoid any that are shriveled, cracked, or covered in mold, as these will likely fail to germinate.
∙ Fresh seeds typically have a light brown outer layer and feel firm to the touch.
∙ Scarify the seeds by gently nicking the hard outer coat using a small knife or sandpaper. This allows moisture to penetrate the shell more easily.
∙ Soak the seeds in warm, clean water overnight to kickstart germination.
∙ The next day, remove and place them on a moist paper towel or in damp sand for two to three days until you notice small sprouts forming.
∙ Prepare a well-draining potting mix, ideally a combination of sandy loam and compost for good aeration and nutrients.
∙ Sow the pre-germinated seeds about 2 centimeters deep in small pots or seedling trays.
∙ Keep the soil consistently moist but not waterlogged.
∙ Place the pots in a warm, humid area with indirect sunlight—direct light may dry out the delicate seedlings too quickly.
∙ As your seedlings emerge, give them bright, filtered sunlight for at least 6 hours a day.
∙ Water regularly, but allow the top layer of soil to dry slightly between waterings to avoid root rot.
∙ Maintain temperatures between 25–30°C (77–86°F), as cloves thrive in tropical warmth.
∙ Apply a balanced liquid fertilizer every few weeks to promote steady, lush growth.
∙ Once seedlings are around 6–8 inches tall, they can be transplanted into larger pots or directly into the garden.
∙ Clove trees begin to produce flower buds after 4–6 years, depending on growing conditions.
∙ Monitor the buds closely—harvest them when they turn pinkish but before they open into flowers.
∙ Use sharp, clean pruning shears to cut the buds carefully without damaging the branches.
∙ Spread the buds out evenly on a clean cloth or drying tray in a shaded, well-ventilated area. Avoid direct sunlight, which can cause flavor loss.
∙ Drying takes several days. The buds will gradually darken to deep brown or black and become hard and brittle.
∙ Once completely dry, store your cloves in airtight glass jars or tin containers.
∙ Keep them in a cool, dark place away from moisture and direct sunlight. Properly stored cloves can retain their strong aroma and taste for over a year.
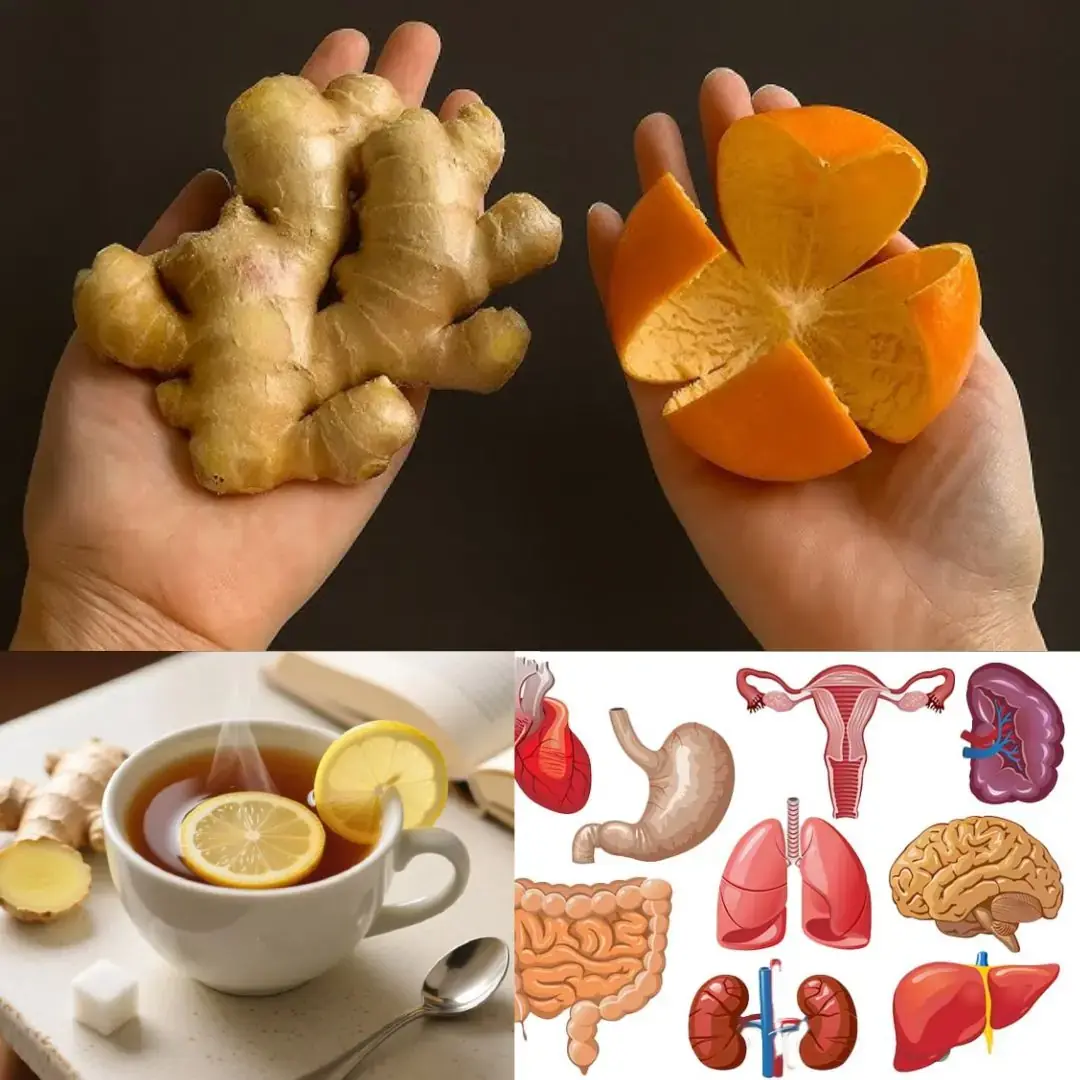
Growing cloves may take time, but the reward is priceless. From the moment you plant the seed to the day you crush a dried clove in your hand, the fragrance tells the story of your patience and care. Beyond the kitchen, cloves offer numerous health benefits—they’re rich in antioxidants, help ease toothaches, improve digestion, and even strengthen immunity.
With consistent care and the right environment, you’ll have not just a spice, but a symbol of growth and dedication in your garden. From seed to spice, your homemade clove journey is one that brings both flavor and fulfillment for years to come.