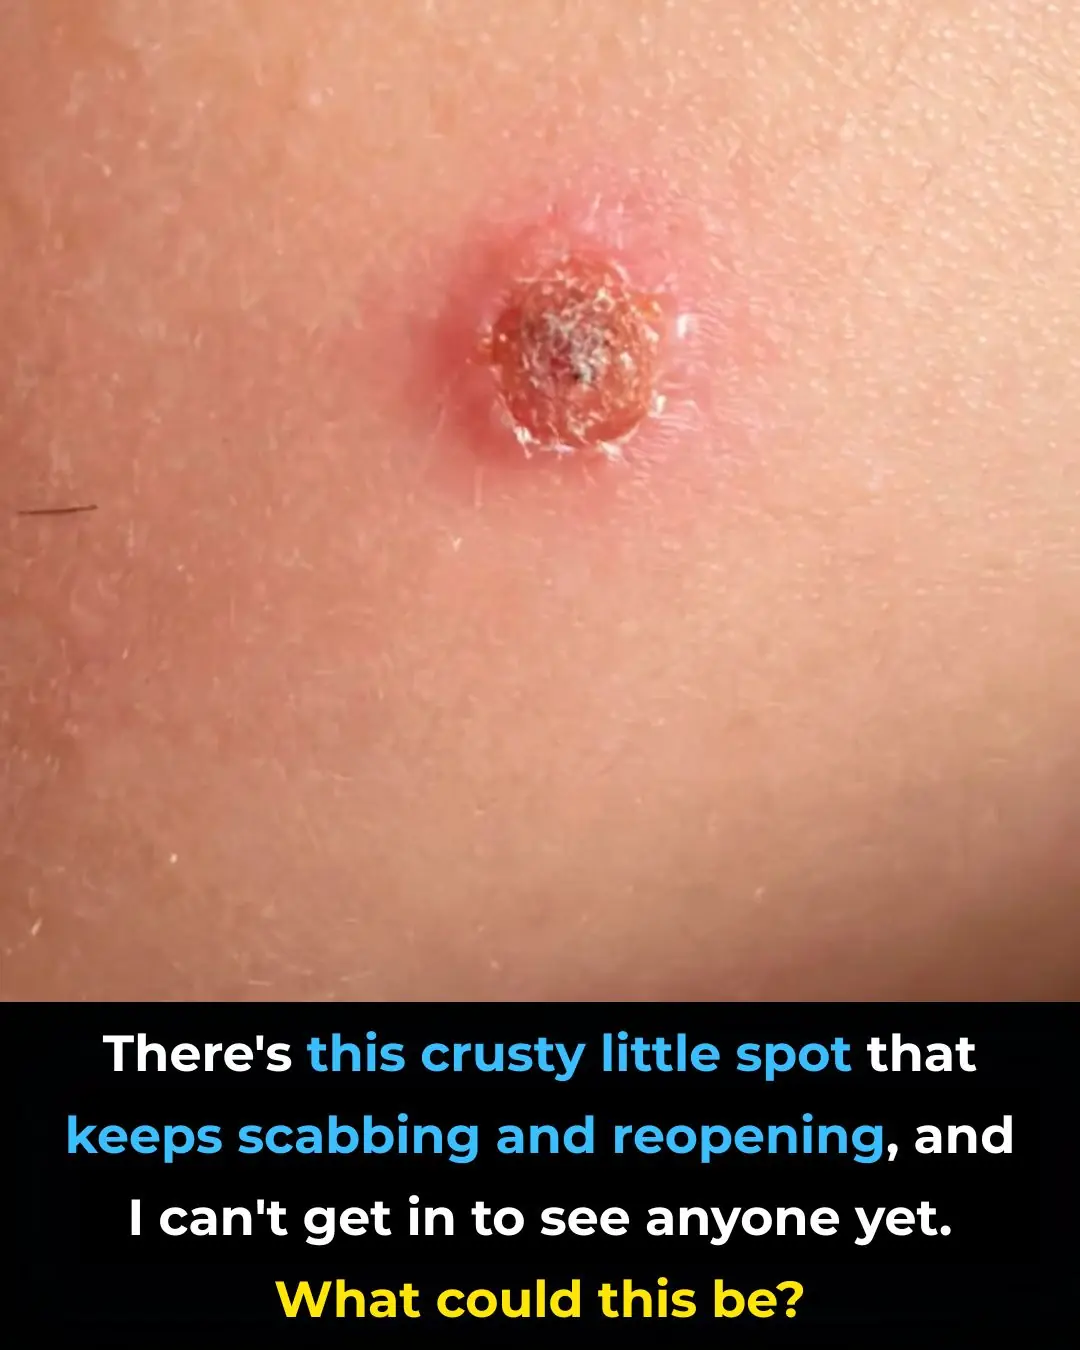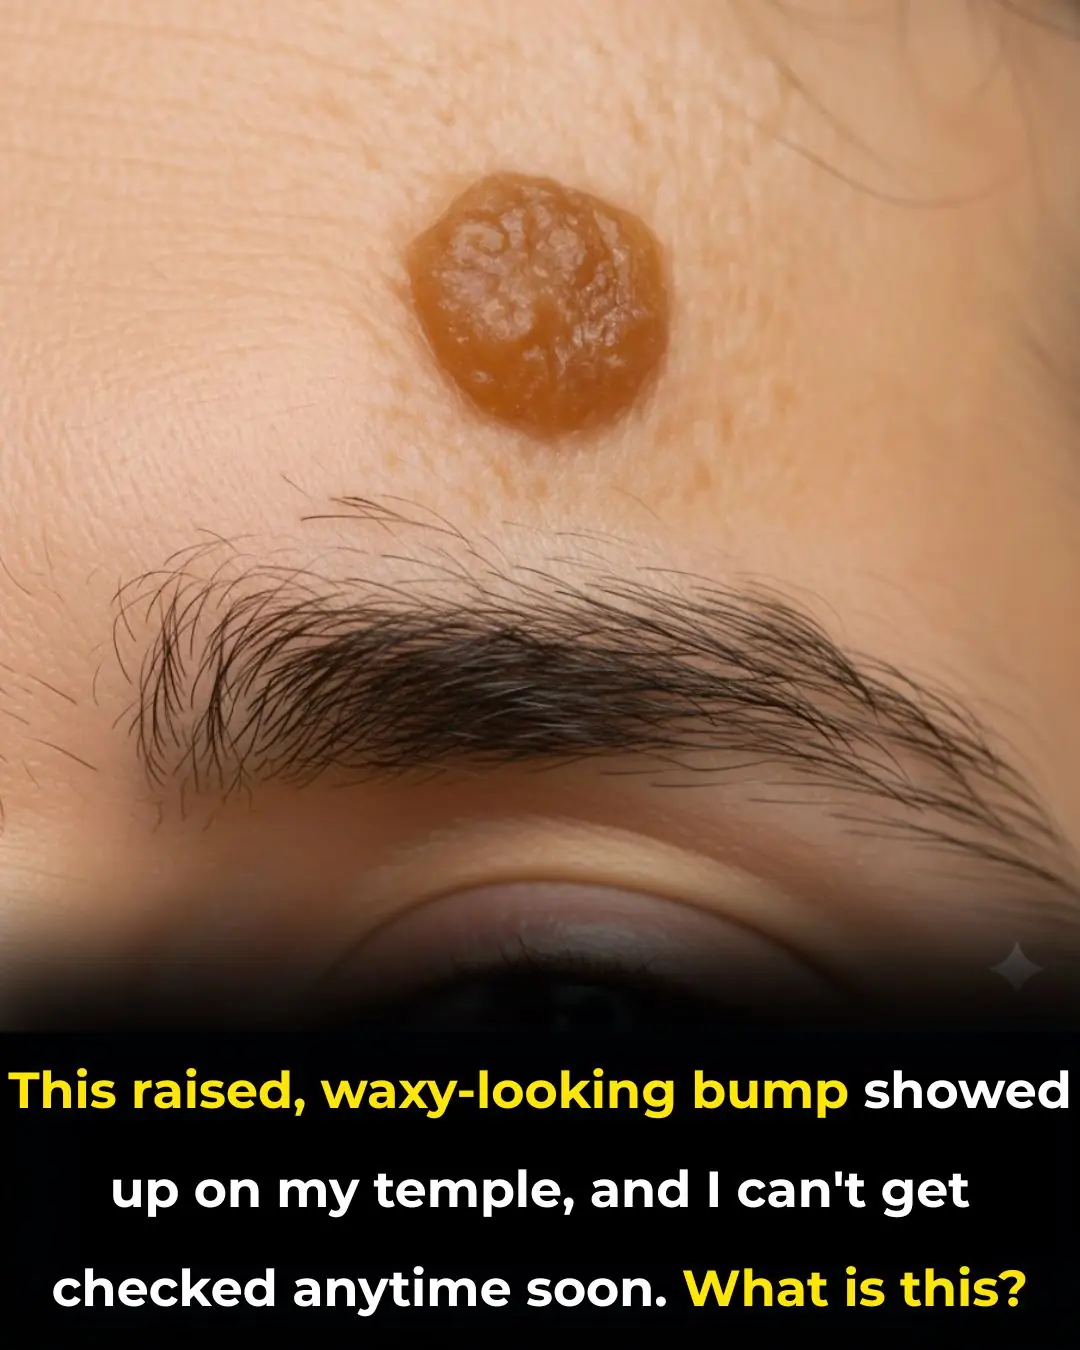
These brown crusty spots keep showing up, and my doctor is booked for weeks given Christmas. Should I be concerned?
Tips 21/12/2025 22:19
A complete, practical guide to protecting your home until a plumber arrives
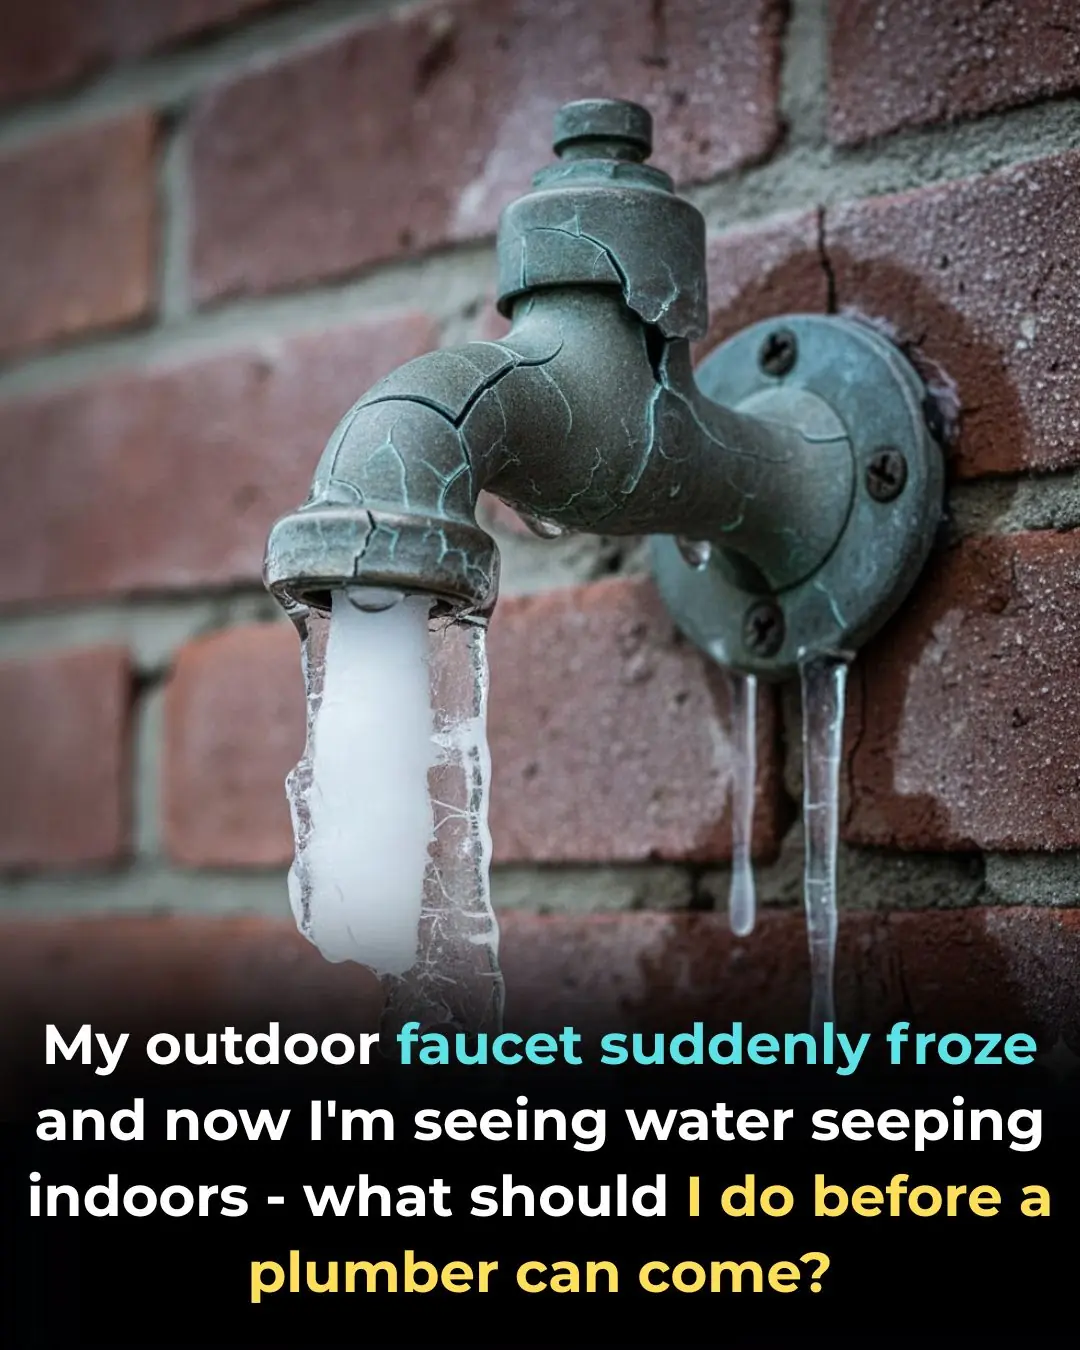
Winter’s snow and ice can be beautiful—but freezing temperatures also bring real risks to your home’s plumbing. One of the most common cold-weather emergencies is a frozen outdoor faucet (hose bib). When water inside the pipe freezes, it expands, often cracking the faucet or the pipe behind the wall. Once temperatures rise or pressure builds, that crack can release water into your home, damaging walls, floors, and belongings.
If this happens, acting quickly can dramatically reduce damage and repair costs. Below is a clear, step-by-step guide on exactly what to do—safely and effectively—while waiting for professional help.
The moment you notice water leaking indoors, stop the water flow.
Locate the shut-off valve that controls the outdoor faucet.
This valve is usually inside the house, near where the pipe exits the exterior wall.
Turn the valve clockwise until it stops.
Can’t find that valve?
Turn off your home’s main water supply as a temporary solution. This valve is typically located near the water meter, in the basement, crawlspace, or utility room. Shutting off the water right away prevents ongoing damage and buys you time.
Knowing which valve controls what can save minutes in an emergency.
Look in the basement or crawlspace along the wall closest to the outdoor faucet.
Valves may be:
Lever-style (turn perpendicular to the pipe to shut off)
Round-handle (turn clockwise until tight)
Newer homes may have a manifold system with labeled valves for each fixture. If you’re unsure, consult your home’s plumbing plans or note valve locations before winter begins.
Once the water is off, focus on containment.
Use towels, blankets, or mops to soak up water
Place buckets under active drips
Move furniture, rugs, and valuables out of the wet area
If you have a wet/dry vacuum, use it to remove standing water quickly. The faster you dry the area, the lower the risk of mold, warped floors, or long-term structural damage.
Water and electricity are a dangerous combination.
If water is near outlets, switches, appliances, or extension cords, turn off power to that area at the breaker panel.
If you’re unsure which breaker controls the area, or if water is already contacting electrical components, stay clear and call a professional.
Safety always comes first.
If the faucet is frozen but not yet fully burst, gentle thawing may help.
Safe methods include:
A hairdryer on low heat, moved slowly along the pipe
Warm (not hot) towels wrapped around the pipe
Keep the faucet slightly open during thawing. This allows melting water to escape and reduces pressure buildup.
Never leave the faucet unattended while applying heat.
Some online tips can make the damage far worse.
❌ Pouring boiling water on pipes
❌ Using blowtorches or open flames
❌ Applying chemical de-icers
These methods can crack pipes, weaken fittings, or create fire hazards. Always choose slow, controlled warming.
Sometimes the real damage isn’t visible from outside.
Watch for:
Water stains or bubbling paint near the faucet
Dripping or rushing water sounds inside walls
Damp smells or mildew odors
A sudden spike in your water bill
If moisture continues even after shutting off water, internal pipe damage is likely.
Turn off your home’s main water valve if:
You can’t access the outdoor faucet shut-off
The leak continues despite valve closure
Multiple areas are affected
Before shutting off the main line, fill containers with water for essential needs (toilets, drinking, basic cleaning).
Good documentation helps both your plumber and your insurance claim.
Take clear photos and videos of leaks, water damage, and affected belongings
Record when the issue started and what actions you took
Save receipts for emergency supplies or temporary repairs
Contact your insurance provider promptly to ask about coverage requirements.
These are not permanent repairs, but they can reduce damage:
Pipe repair tape or rubber patches on visible cracks
Buckets or pans under drips
Pipe caps if the damaged section is accessible
Avoid overtightening or forcing fittings—you don’t want to worsen the break.
When help arrives, efficiency matters.
Tell your plumber:
When you noticed the leak
Whether the faucet froze recently
Which valves were shut off
Any signs of water inside walls
Sharing photos and background information helps them diagnose faster and repair correctly.
Once repairs are done, take steps to prevent this from happening again:
Install frost-proof outdoor faucets
Insulate exterior pipes and hose bibs
Use insulated faucet covers in winter
Disconnect hoses before freezing weather
Periodically inspect outdoor plumbing for wear
Small preventive steps can save thousands in repairs.
A frozen outdoor faucet can escalate quickly from a minor winter inconvenience to a costly home emergency. By acting fast—shutting off water, controlling damage, and avoiding risky fixes—you can protect your home until professional repairs are made. Preparation and awareness are your best defenses against winter plumbing disasters.